Tables & Sections
Admins and managers who maintain dine-in sections, tables, and the table map for a specific shop.
Before you start
- Confirm the correct brand and shop.
- Decide whether you are changing section setup, table records, or the visual floorplan.
- If staff are actively using the table map, avoid large structural changes during peak service.
Open this page
Open Store Settings -> Tables & Sections.
What this page controls
This page controls how tables are grouped, named, and displayed on the POS table map.
Use it to manage:
- section or area grouping
- table records and capacities
- the visual floorplan layout
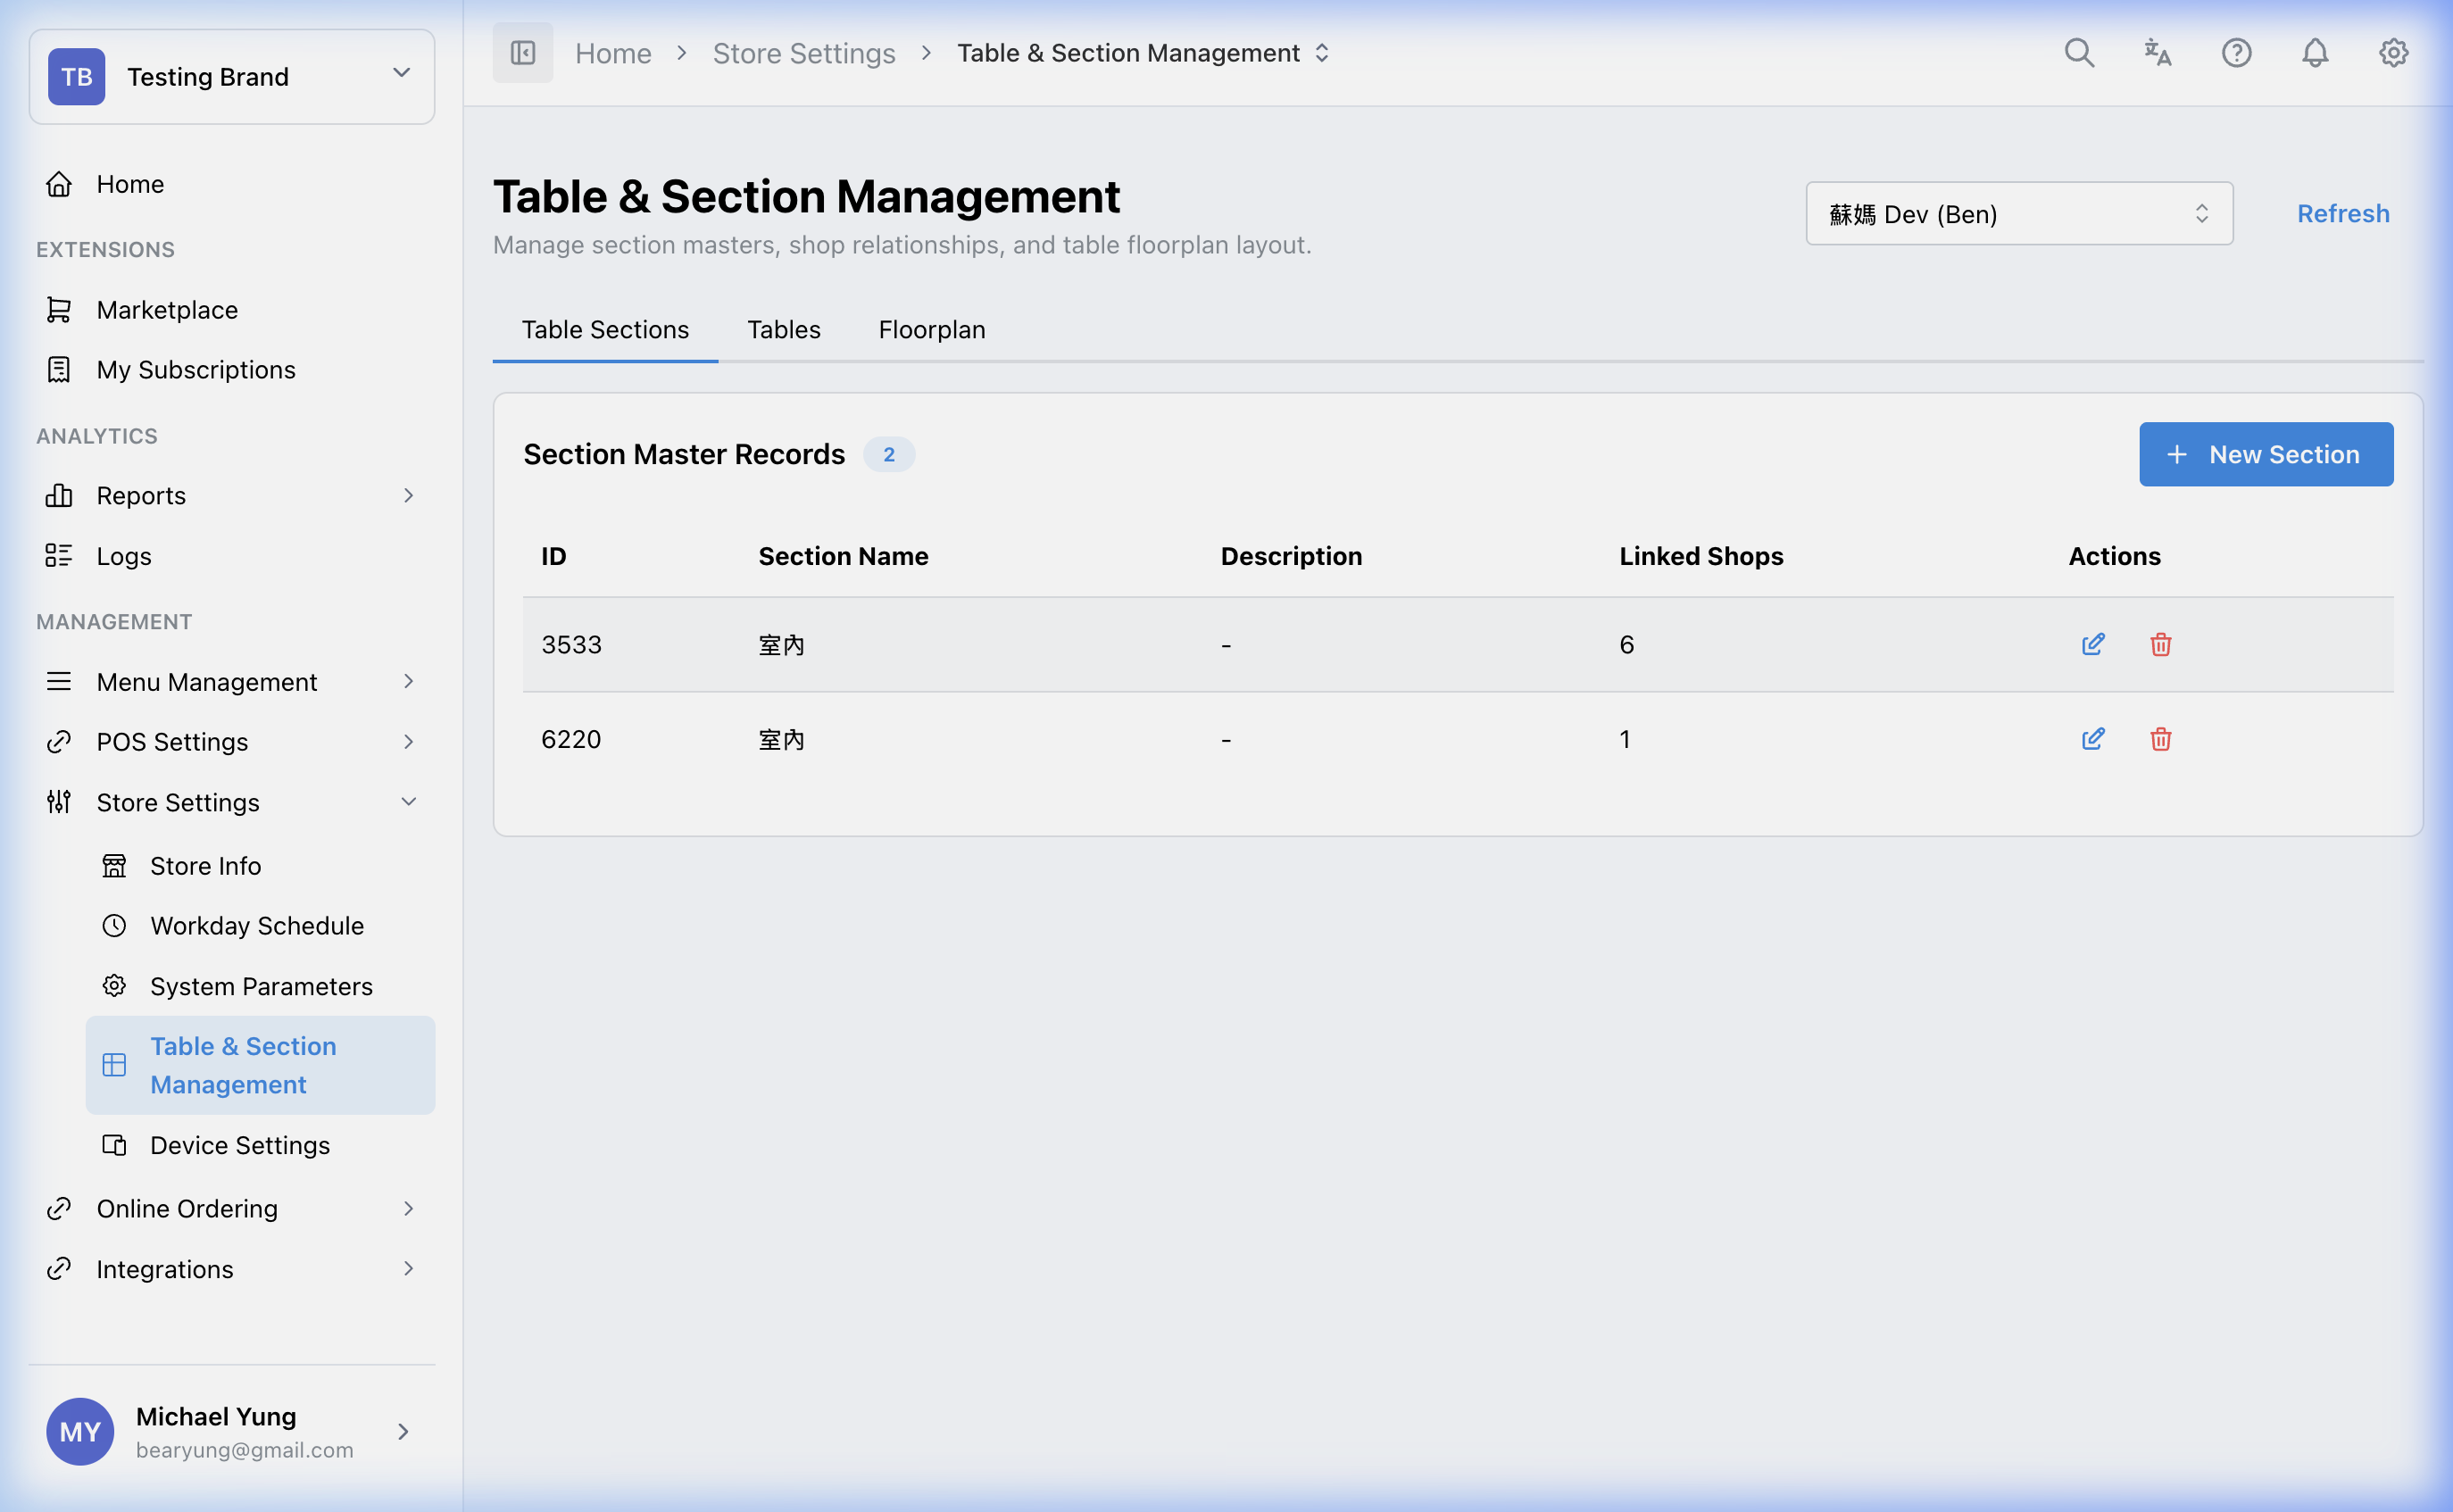
Main sections
Section library
Sections group tables into physical areas such as Main Dining Room, Patio, or VIP Lounge.
Common setup here includes:
- creating the section
- linking it to the shop
- setting canvas size
- optionally applying a background floorplan image
Table configurations
Each table record can include:
Table Code- linked section
- table type
- seat number
- takeaway flag
- display index
Floorplan designer
The floorplan designer lets you place tables visually instead of managing only raw position values.
Use it to:
- drag and drop table position
- resize table objects
- hide internal-only tables from the visual floorplan
Restore a recently removed table
Use Show recently removed in the table list when a table was removed by mistake. This restore flow applies to table records only. It does not restore removed table sections.
- The toggle only shows tables removed in the last 24 hours. Tables removed longer ago are not included.
- Recently removed rows use a light gray background.
- A recently removed row only shows the restore action. The edit and delete actions are hidden.
- Select the restore icon to make the table active again.
- HQ restores the table with its child or split-table mappings when those mappings are still valid.
- HQ blocks the restore if the table's section is not active for the shop, the table type is not active, the linked printer is not active for the shop, or another active table in the same shop already has the same
Table Code.
Steps
- Open
Store Settings->Tables & Sections. - Confirm the selected shop.
- Create or review the required table sections.
- Link sections to the shop if needed.
- Create or update the table records for that shop.
- Open the floorplan view and place the tables visually.
- Save the changes.
- If you removed a table by mistake, turn on
Show recently removedin the table list. - Find the light gray row and select the restore icon.
- If HQ blocks the restore, review the table's section, table type, printer, and any active table with the same
Table Codein the same shop before trying again.
What changes after you save
These changes affect how the selected shop's table layout is presented in the POS. They can change the way staff find, open, and manage dine-in orders.
How to check your change
- Reopen the page and confirm the section and table records are present.
- Check the floorplan view for correct table position and size.
- Verify the target shop can see the expected layout on the POS table map.
If something goes wrong
- Confirm you edited the correct shop and section.
- Check whether the issue is in the section link, the table record, or the floorplan placement.
- If the table map looks wrong, verify the table visibility and section assignment before changing more records.
- If restore is blocked, check whether the section, table type, and printer are still active for the selected shop, and whether another active table is using the same
Table Code.
When to ask owner/admin
- The change affects a busy live shop and you cannot verify the new floorplan safely.
- You are not sure whether the table should be a real dine-in table or an internal/virtual record.