Workday Schedule
Admins and managers who define the business day and service periods for a specific shop.
Before you start
- Confirm the correct brand and shop.
- Confirm the actual operating hours for the shop, including late-night closing that runs past midnight.
- Decide whether you are updating one day, all days, or copying a schedule to other shops.
Open this page
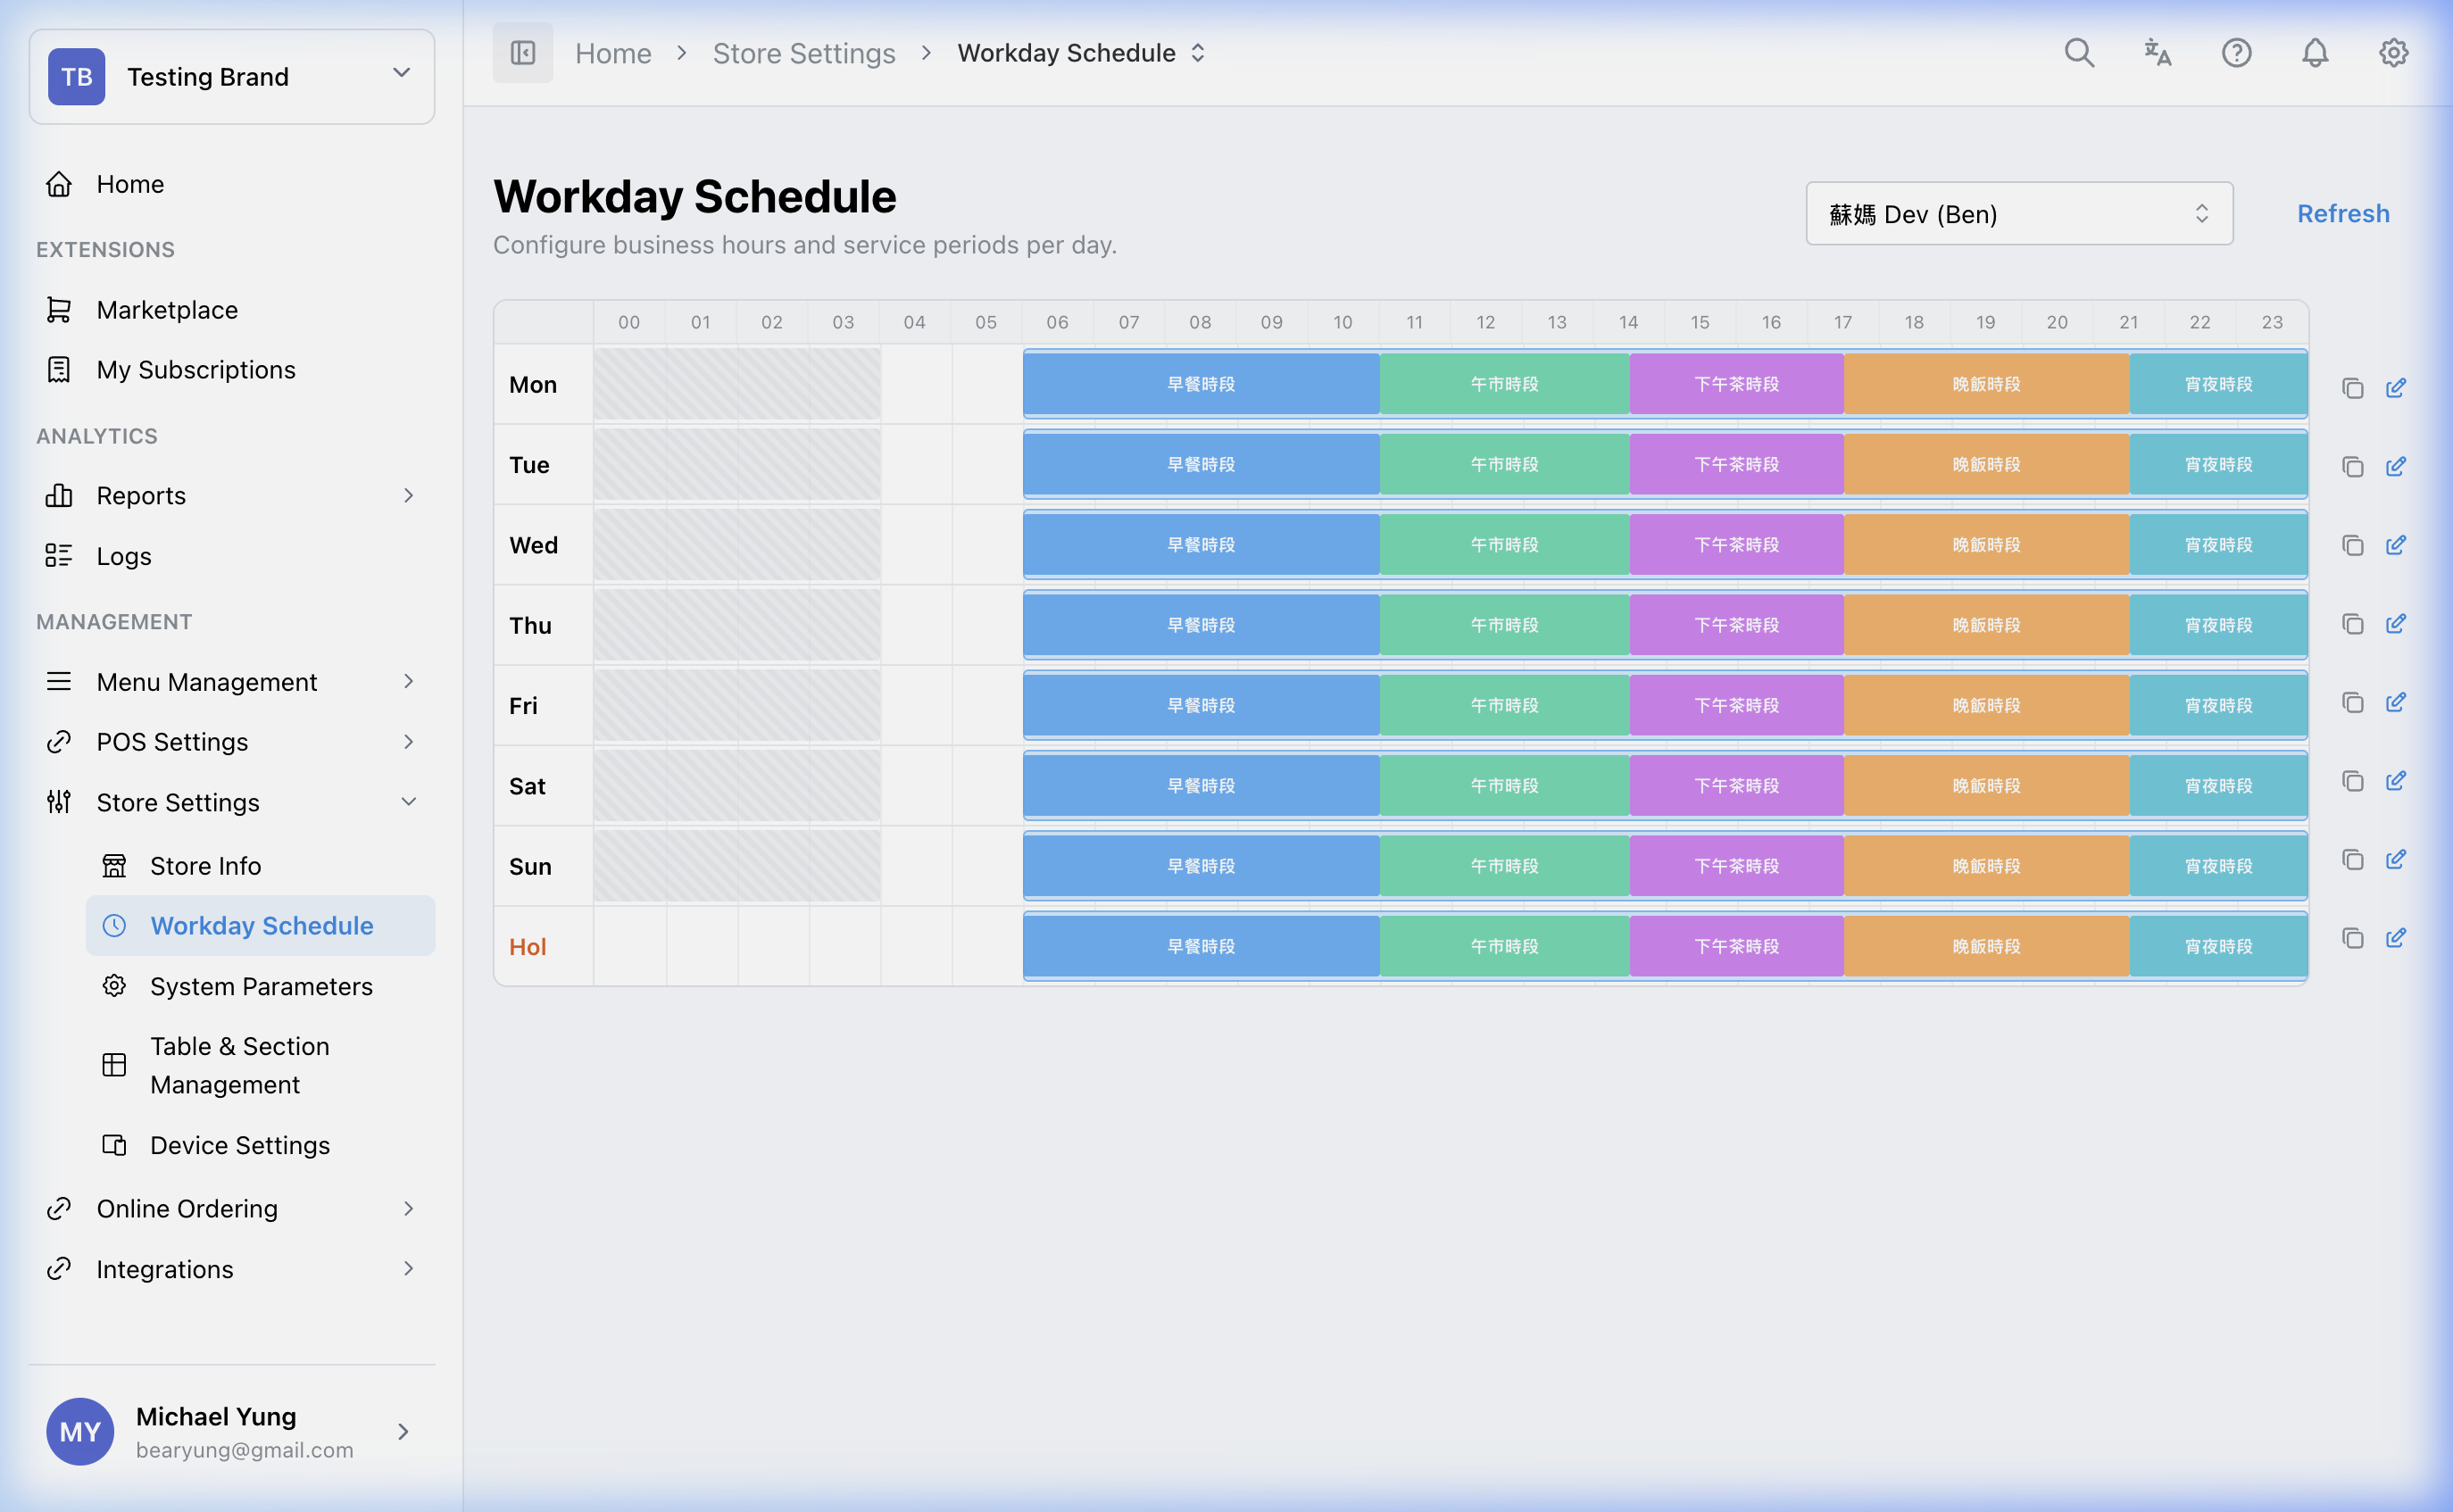
Open Store Settings -> Workday Schedule.
What this page controls
Workday Schedule tells the POS when a financial business day starts and ends. It is not just the public opening hours. It controls how sales are assigned to the correct business date.
This page also defines service periods such as breakfast, lunch, or happy hour that can be used for schedule-driven behavior.
This page is shop-level.
Main sections
Business hours
Business hours define the main workday window for each day.
Use these fields carefully:
Open TimeClose Time- day overflow such as
+1d
If the shop closes after midnight, use the overflow setting so late-night sales stay on the correct business day instead of moving to the next calendar day.
Period masters
Period masters define reusable named periods such as Lunch Service or Happy Hour.
If you rename a period master, Cascade Rename can update existing uses of that period.
Interactive timeline
The timeline helps you review:
- the full business-hours block
- period placement inside the day
- gaps between periods
- previous-day overflow into the next calendar day
Validations
The page checks for:
- period overlaps
- periods outside the business-hours window
Steps
- Open
Store Settings->Workday Schedule. - Confirm the selected shop.
- Set the
Open TimeandClose Timefor the target day. - Add overflow such as
+1dif the business day ends after midnight. - Create or review the required
Period Masters. - Place the periods on the timeline in the correct order.
- Check for gaps or overlaps before saving.
- Save the schedule.
Copying schedules
Use the copy tool when multiple days or shops should share the same pattern.
- Finish one day correctly first.
- Select the
Copyaction for that day. - Choose the target days.
- If needed, choose additional target shops.
- Apply the copy.
What changes after you save
These changes affect the selected shop's business-day timing and period structure. That can affect reporting date boundaries and any workflow that depends on the configured schedule.
How to check your change
- Reopen the page and confirm the saved hours and periods are correct.
- Check that no validation warnings remain.
- For late-night shops, confirm the business-day cutoff matches the real trading expectation.
If something goes wrong
- Confirm you edited the correct shop.
- Check whether the problem is in the close time, the overflow day, or the period blocks.
- If reports are landing on the wrong date, review the overnight configuration first.
When to ask owner/admin
- You are changing the workday for a live shop and cannot safely verify the reporting impact.
- The schedule should be copied to multiple shops but you do not know whether they all share the same operating pattern.