Logs
Owners, managers, support staff, and back-office admins who need to review POS diagnostic files from HQ.
Before you start
- Confirm you are signed in to the correct HQ workspace.
- Confirm the correct brand is selected.
- Confirm which shop or terminal needs investigation.
- Use this page for operational troubleshooting. Do not download or share logs unless your business process allows it.
Open this page
- Open
Logsfrom the Analytics area. - Select
POS Logs.
What this page controls
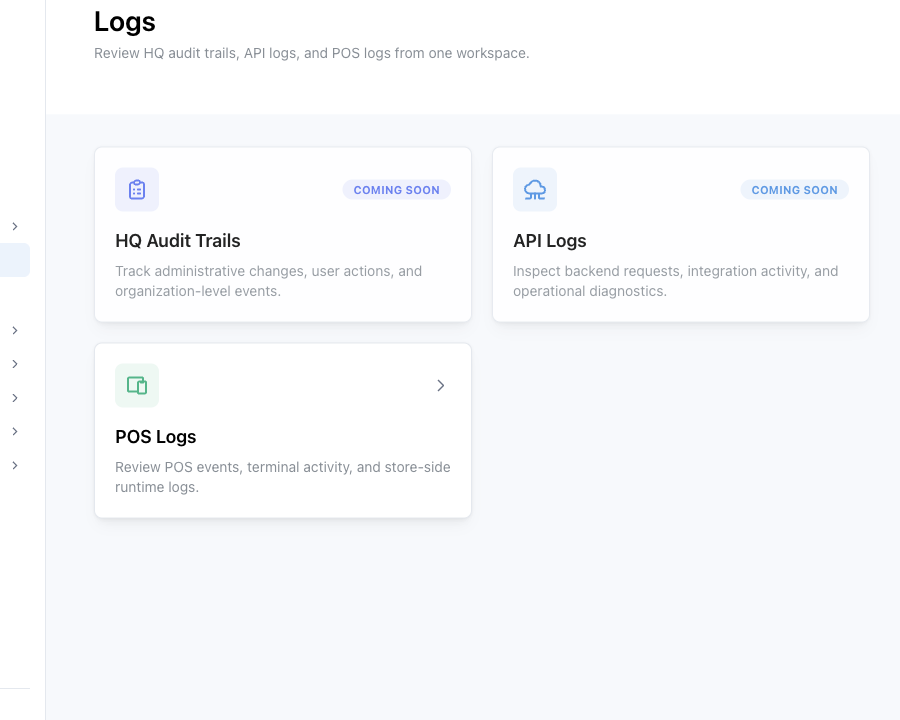
Logs is the overview for log-related tools in HQ.
HQ Audit Trails: coming soon. This will be used for administrative and user-action history.API Logs: coming soon. This will be used for backend and integration diagnostics.POS Logs: available now. Use this to review log files uploaded by POS terminals.
POS Logs does not change POS behavior. It helps you inspect files that were already uploaded from POS.
Main sections
Crash Reports
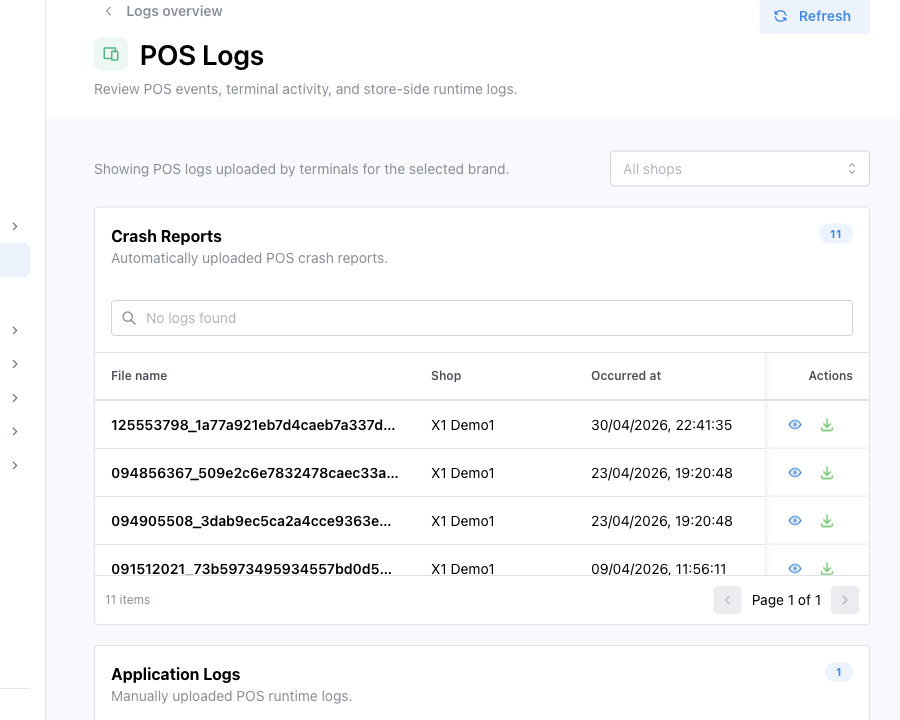
Use Crash Reports for crash files automatically uploaded by POS. These usually help support understand why an app session stopped unexpectedly.
Application Logs
Use Application Logs for runtime logs that a user manually uploaded from POS.
Octopus Logs
Use Octopus Logs when troubleshooting Octopus payment activity from POS.
Other Uploaded Logs
Use Other Uploaded Logs for manually uploaded diagnostic files that do not match the other sections.
Key actions
Filter by shop
- Open
POS Logs. - Use the shop filter at the top right.
- Select
All shopsto review every mapped shop, or select one shop to narrow the tables.
Each table shows up to 500 rows per page. Use the page controls at the bottom of a table if more files are available.
Search within a log section
- Find the section you need, such as
Crash ReportsorApplication Logs. - Use the search field in that section.
- Search by file name, shop, platform, app version, or date text.
Quick view a log
- Find the log file.
- Select
Quick view. - Review the preview.
- Download the file if you need the full content.
The preview may show only the beginning of a large file.
Download a log
- Find the log file.
- Select
Download. - Store or share the file according to your internal support process.
What changes after you save
There is no save action on this page. Viewing, filtering, previewing, and downloading logs do not change POS settings or store data.
How to check your result
- Confirm the selected brand and shop filter are correct.
- Confirm the file name,
Shop,Occurred at, andUploaded atvalues match the issue you are investigating. - For crash reports, check
PlatformandApp versionbefore escalating.
If something goes wrong
- If the page says
No logs found, confirm the correct brand and shop are selected. - If a shop is missing, confirm the shop has a POS shop mapping.
- If a file is not present, ask the POS user to upload logs again from the POS terminal.
- If
Quick viewdoes not show enough content, useDownload.
When to ask owner/admin
- You do not have access to the required brand or shop.
- The log may contain customer or staff-sensitive information.
- You need to send the file outside your organization.
- You are investigating repeated crashes, payment failures, or security-related activity.