Reasons
Admins who maintain the standard reason lists used for controlled POS actions such as voids, pay-ins, and pay-outs.
Before you start
- Confirm the correct brand.
- Decide which operational action needs a reason list.
- Keep the list short and clear enough for staff to use quickly on the POS.
Open this page
Open POS Settings -> Reasons.
What this page controls
Reasons defines the standardized explanations staff select when performing controlled actions on the POS.
Use it to avoid free-text reasons and keep audit reporting consistent.
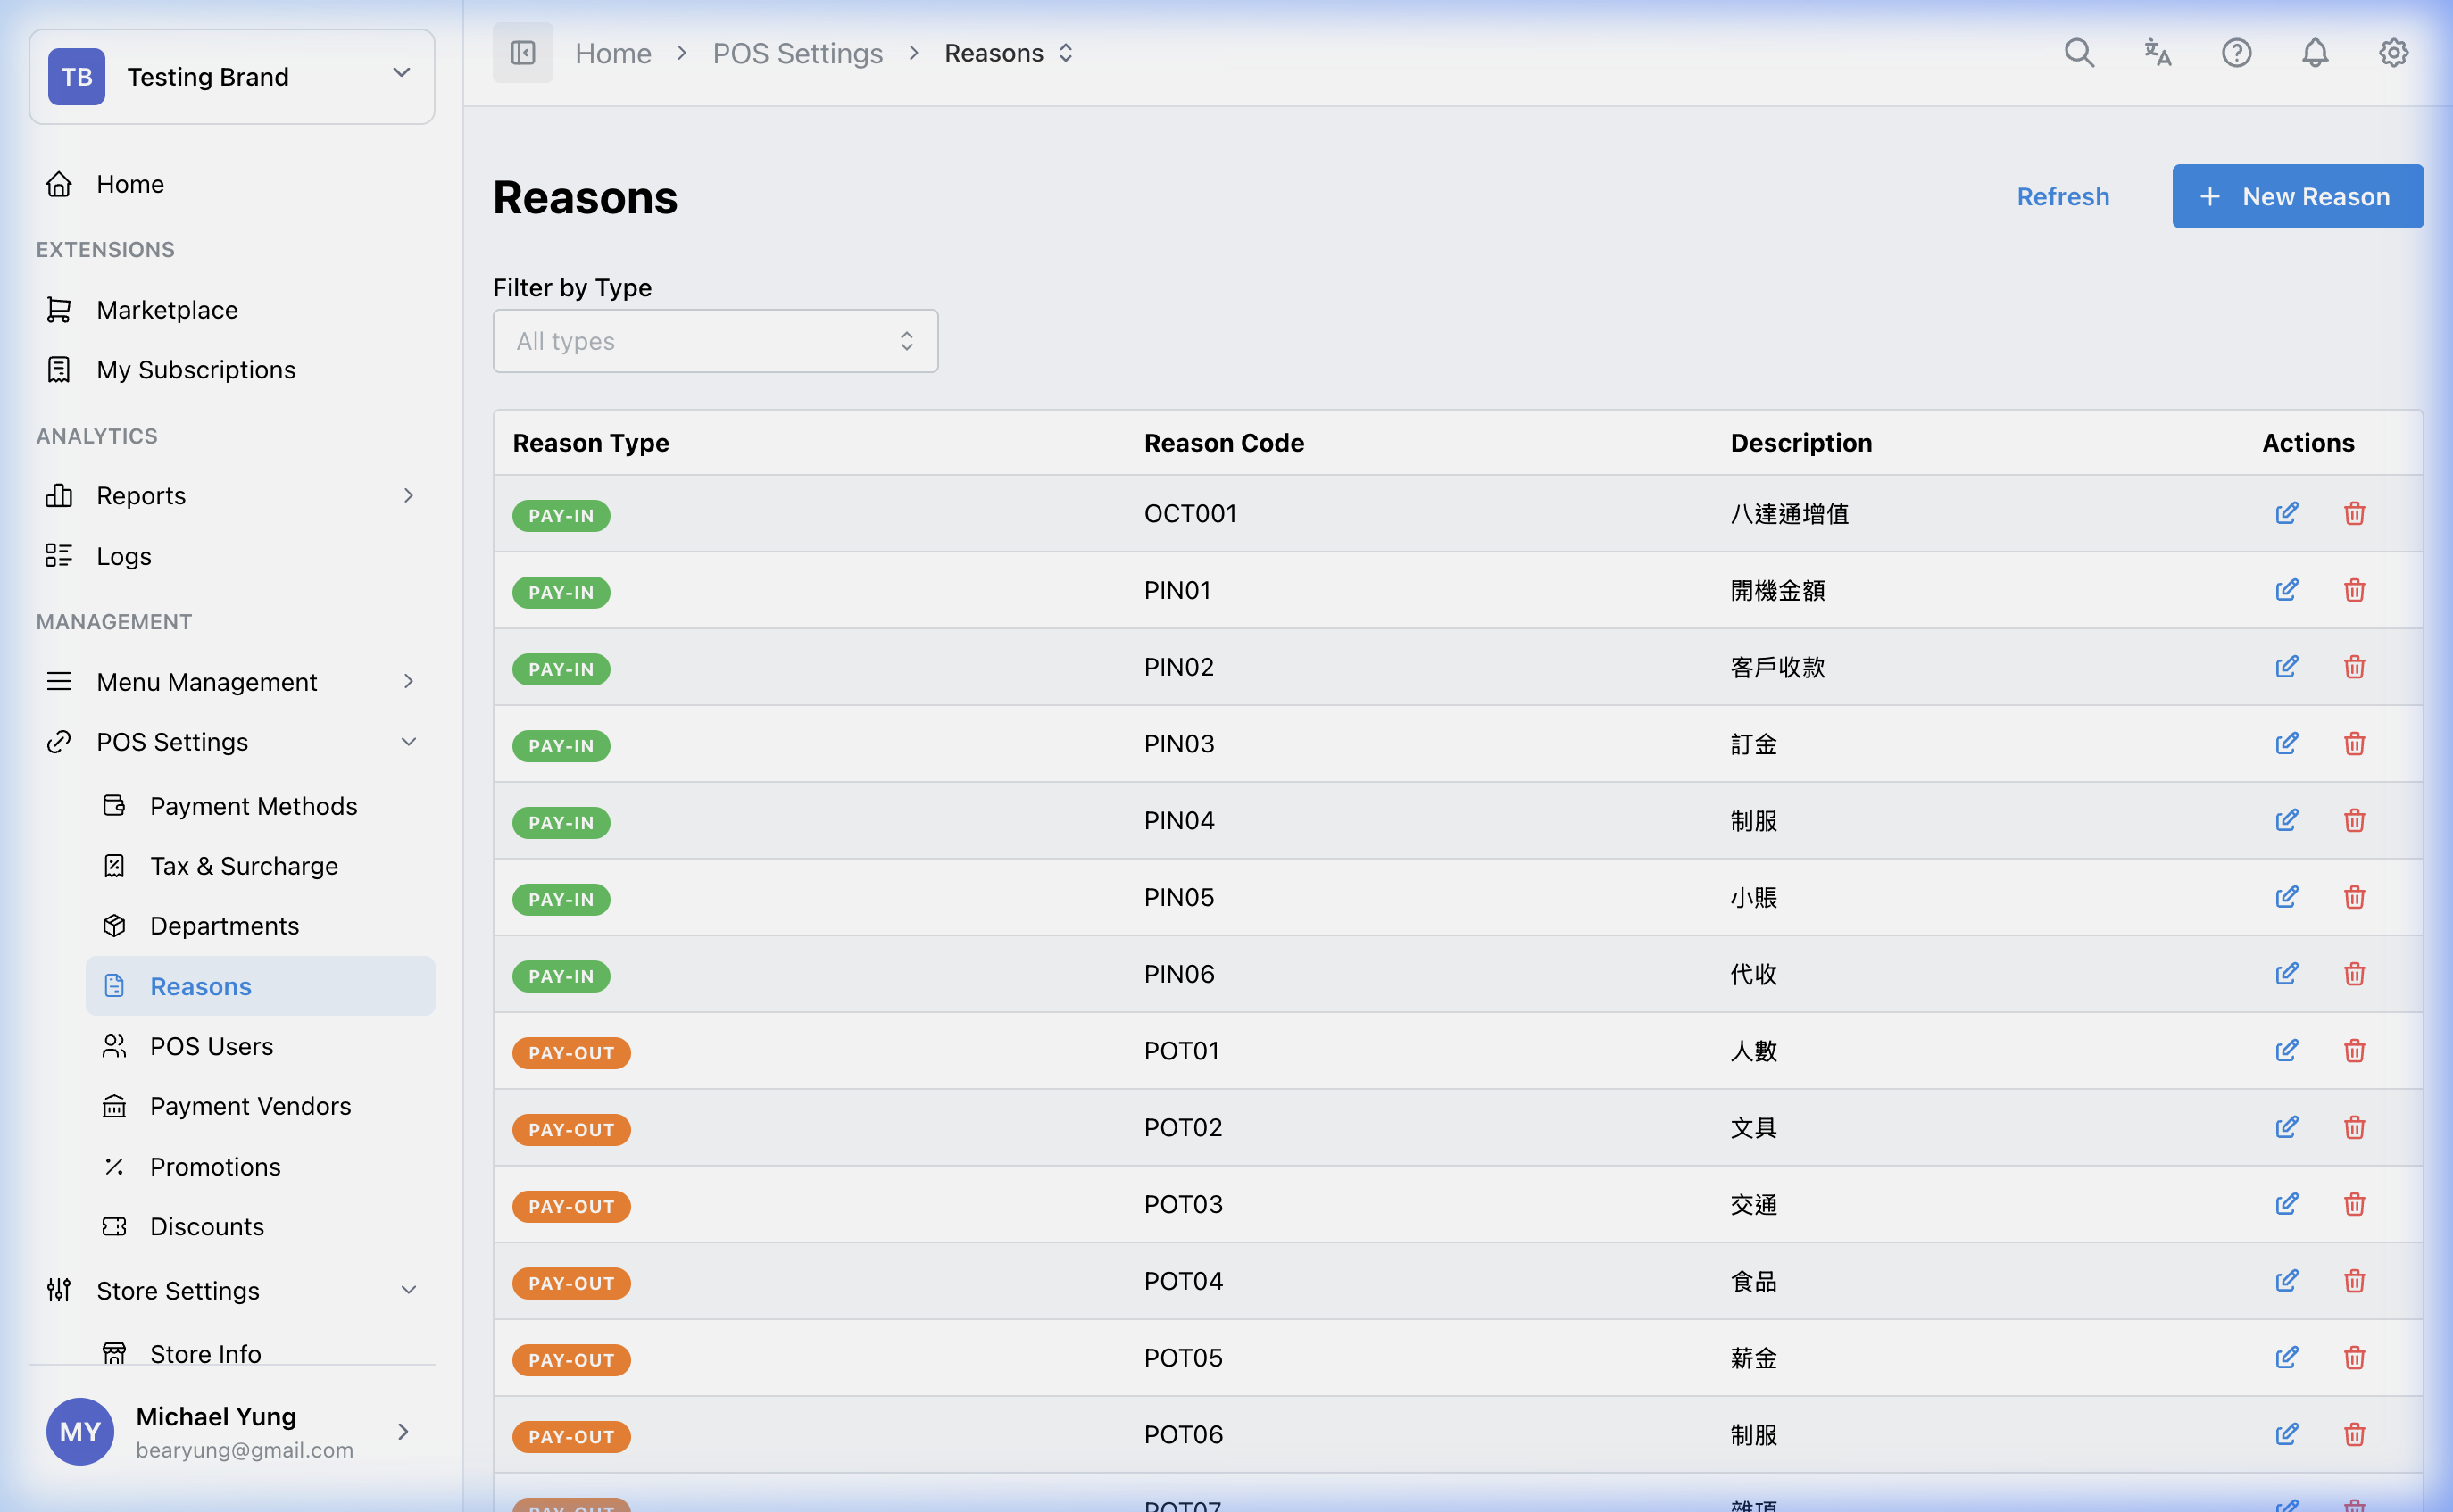
Main sections
Reason groups
Common groups include:
TX_DISABLEPAYINPAYOUTISO
Each group is intended for a different POS action type.
POS behavior
When a POS action requires a reason, the terminal shows the available active reasons from the matching group for staff to select.
Beast Mode
Use Beast Mode when you need to create several reasons for the same group.
When Beast Mode is on, enter one row for each reason with:
Reason CodeDescription
The selected reason group and any other shared settings apply to every reason created in that save.
Use normal create mode when reasons belong to different groups or need different settings.
Steps
- Open
POS Settings->Reasons. - Choose the correct reason group.
- Create or edit the reason text.
- Save the reason.
- Repeat only for the groups that need updates.
Create several reasons at once
- Open
POS Settings->Reasons. - Choose the correct reason group.
- Select the new-reason button.
- Turn on
Beast Mode. - Enter one row for each reason.
- Select
Create. - Review the group and confirm every reason was created.
What changes after you save
These changes affect the choices staff can select when the related POS action requires a reason.
How to check your change
- Reopen the list and confirm the reason is in the correct group.
- Verify the text is short, clear, and suitable for quick staff selection.
- Test the related POS action when practical to confirm the reason appears where expected.
If something goes wrong
- Confirm the reason is assigned to the correct group.
- Check whether the POS action is configured to require a reason before assuming the list failed.
- If reporting looks inconsistent, review duplicate or unclear reason names.
When to ask owner/admin
- The reason list affects compliance, loss prevention, or audit reporting.
- You are unsure which action group should own the reason.