Discounts
Who this is for
Admins who create manual markdown options for cashier or manager use on the POS.
Before you start
- Confirm the correct brand.
- Decide whether the discount should be manual. If it should apply automatically, review Promotions instead.
- Confirm whether the discount applies to the whole check, a single item, or a custom amount entered at the POS.
Open this page
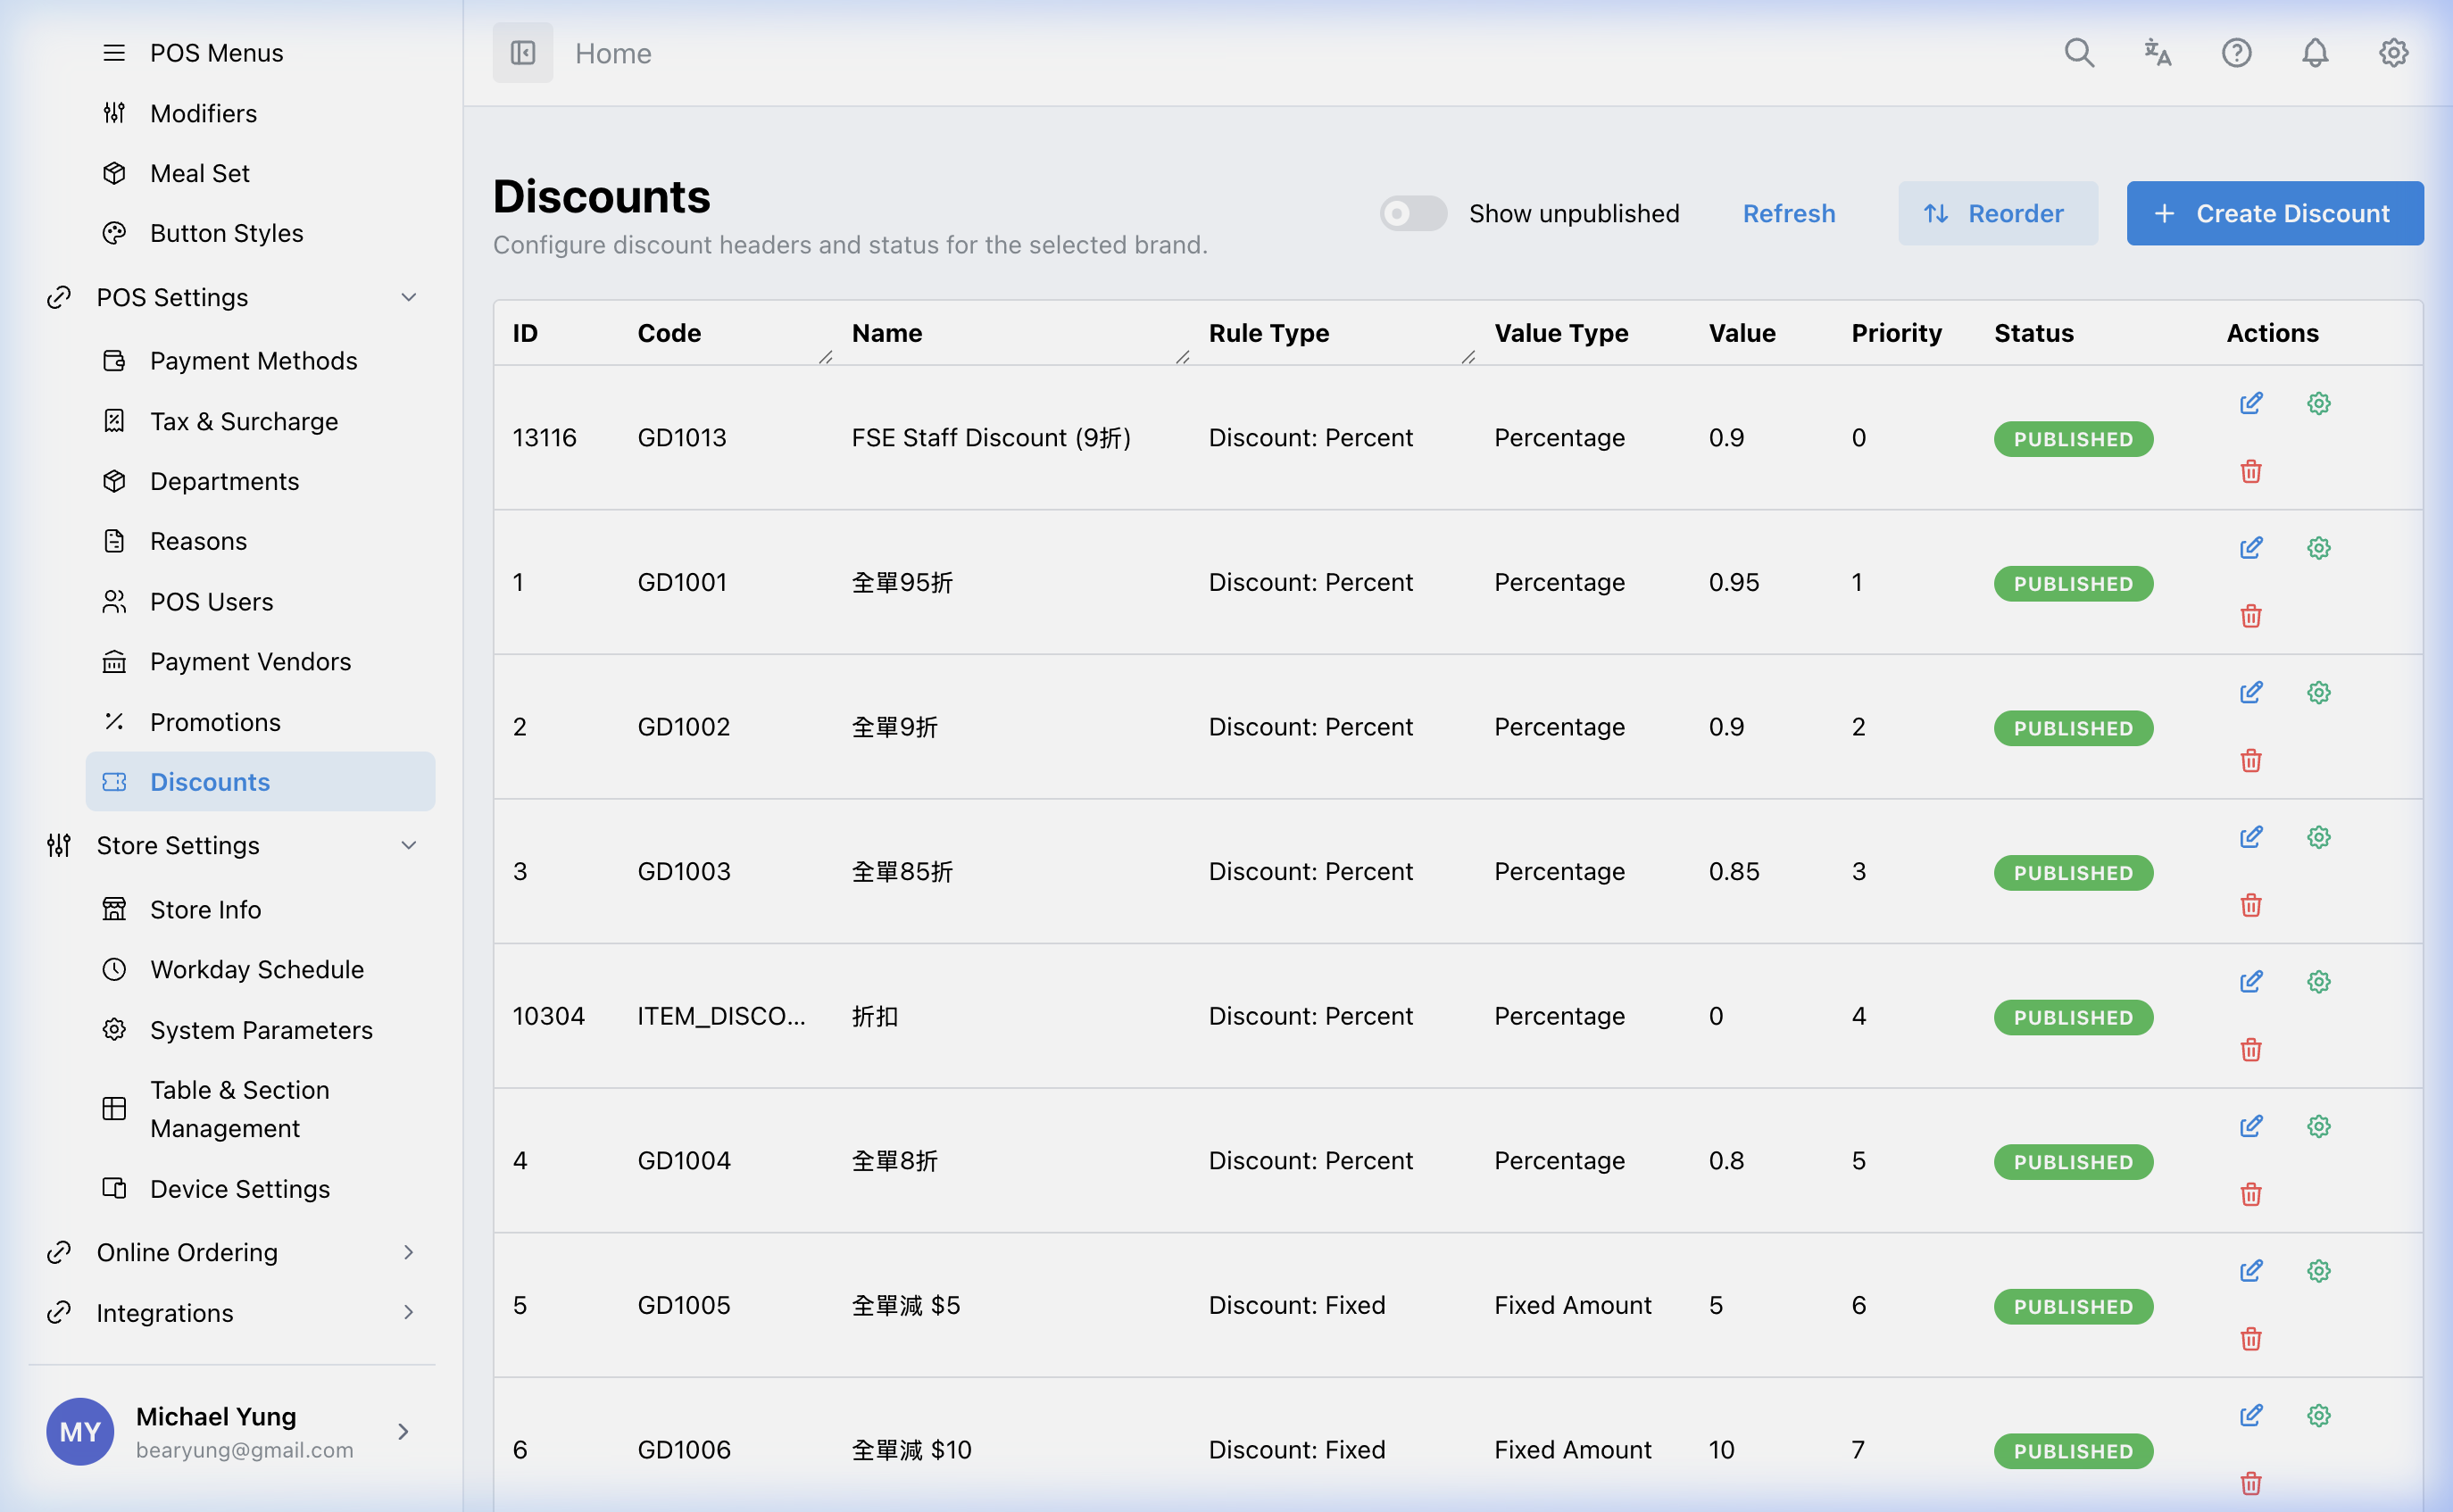
Open POS Settings -> Discounts.
What this page controls
Discounts defines the manual markdown options available during POS operations.
Use this page to control:
- fixed or percentage discounts
- whole-check versus item-level discounts
- open discounts
- rule-based eligibility for discount use
Main sections
Value type
Choose whether the discount is:
- fixed amount
- percentage
Rule type
Common rule scopes include:
Check DiscountItem DiscountOpen DiscountItem Upgrade
Rule editor
As with promotions, the shell record is only part of the setup. Use the rule editor to define what the discount can apply to.
Steps
- Open
POS Settings->Discounts. - Create a new discount or open an existing one.
- Choose the value type.
- Choose the rule type.
- Save the shell record.
- Open the rule editor.
- Define the allowed items, categories, or cart requirements.
- Save the discount.
What changes after you save
These changes affect the manual discount options available during POS operations.
How to check your change
- Reopen the discount and confirm the type and value.
- Review the rule editor setup.
- Test the intended discount flow in the POS where practical.
If something goes wrong
- Confirm the rule editor was configured after the shell record was saved.
- Check whether the issue is in rule scope rather than discount value.
- Review whether the discount should be whole-check or item-level.
When to ask owner/admin
- The discount affects live pricing or approval policy.
- You are unsure whether the logic should be a discount or a promotion.