Departments
Admins who organize items for reporting and financial roll-up in HQ.
Before you start
- Confirm the correct brand.
- Decide whether you need a top-level department, a sub-department, or a revenue center mapping.
- Check the current structure before adding new levels.
Open this page
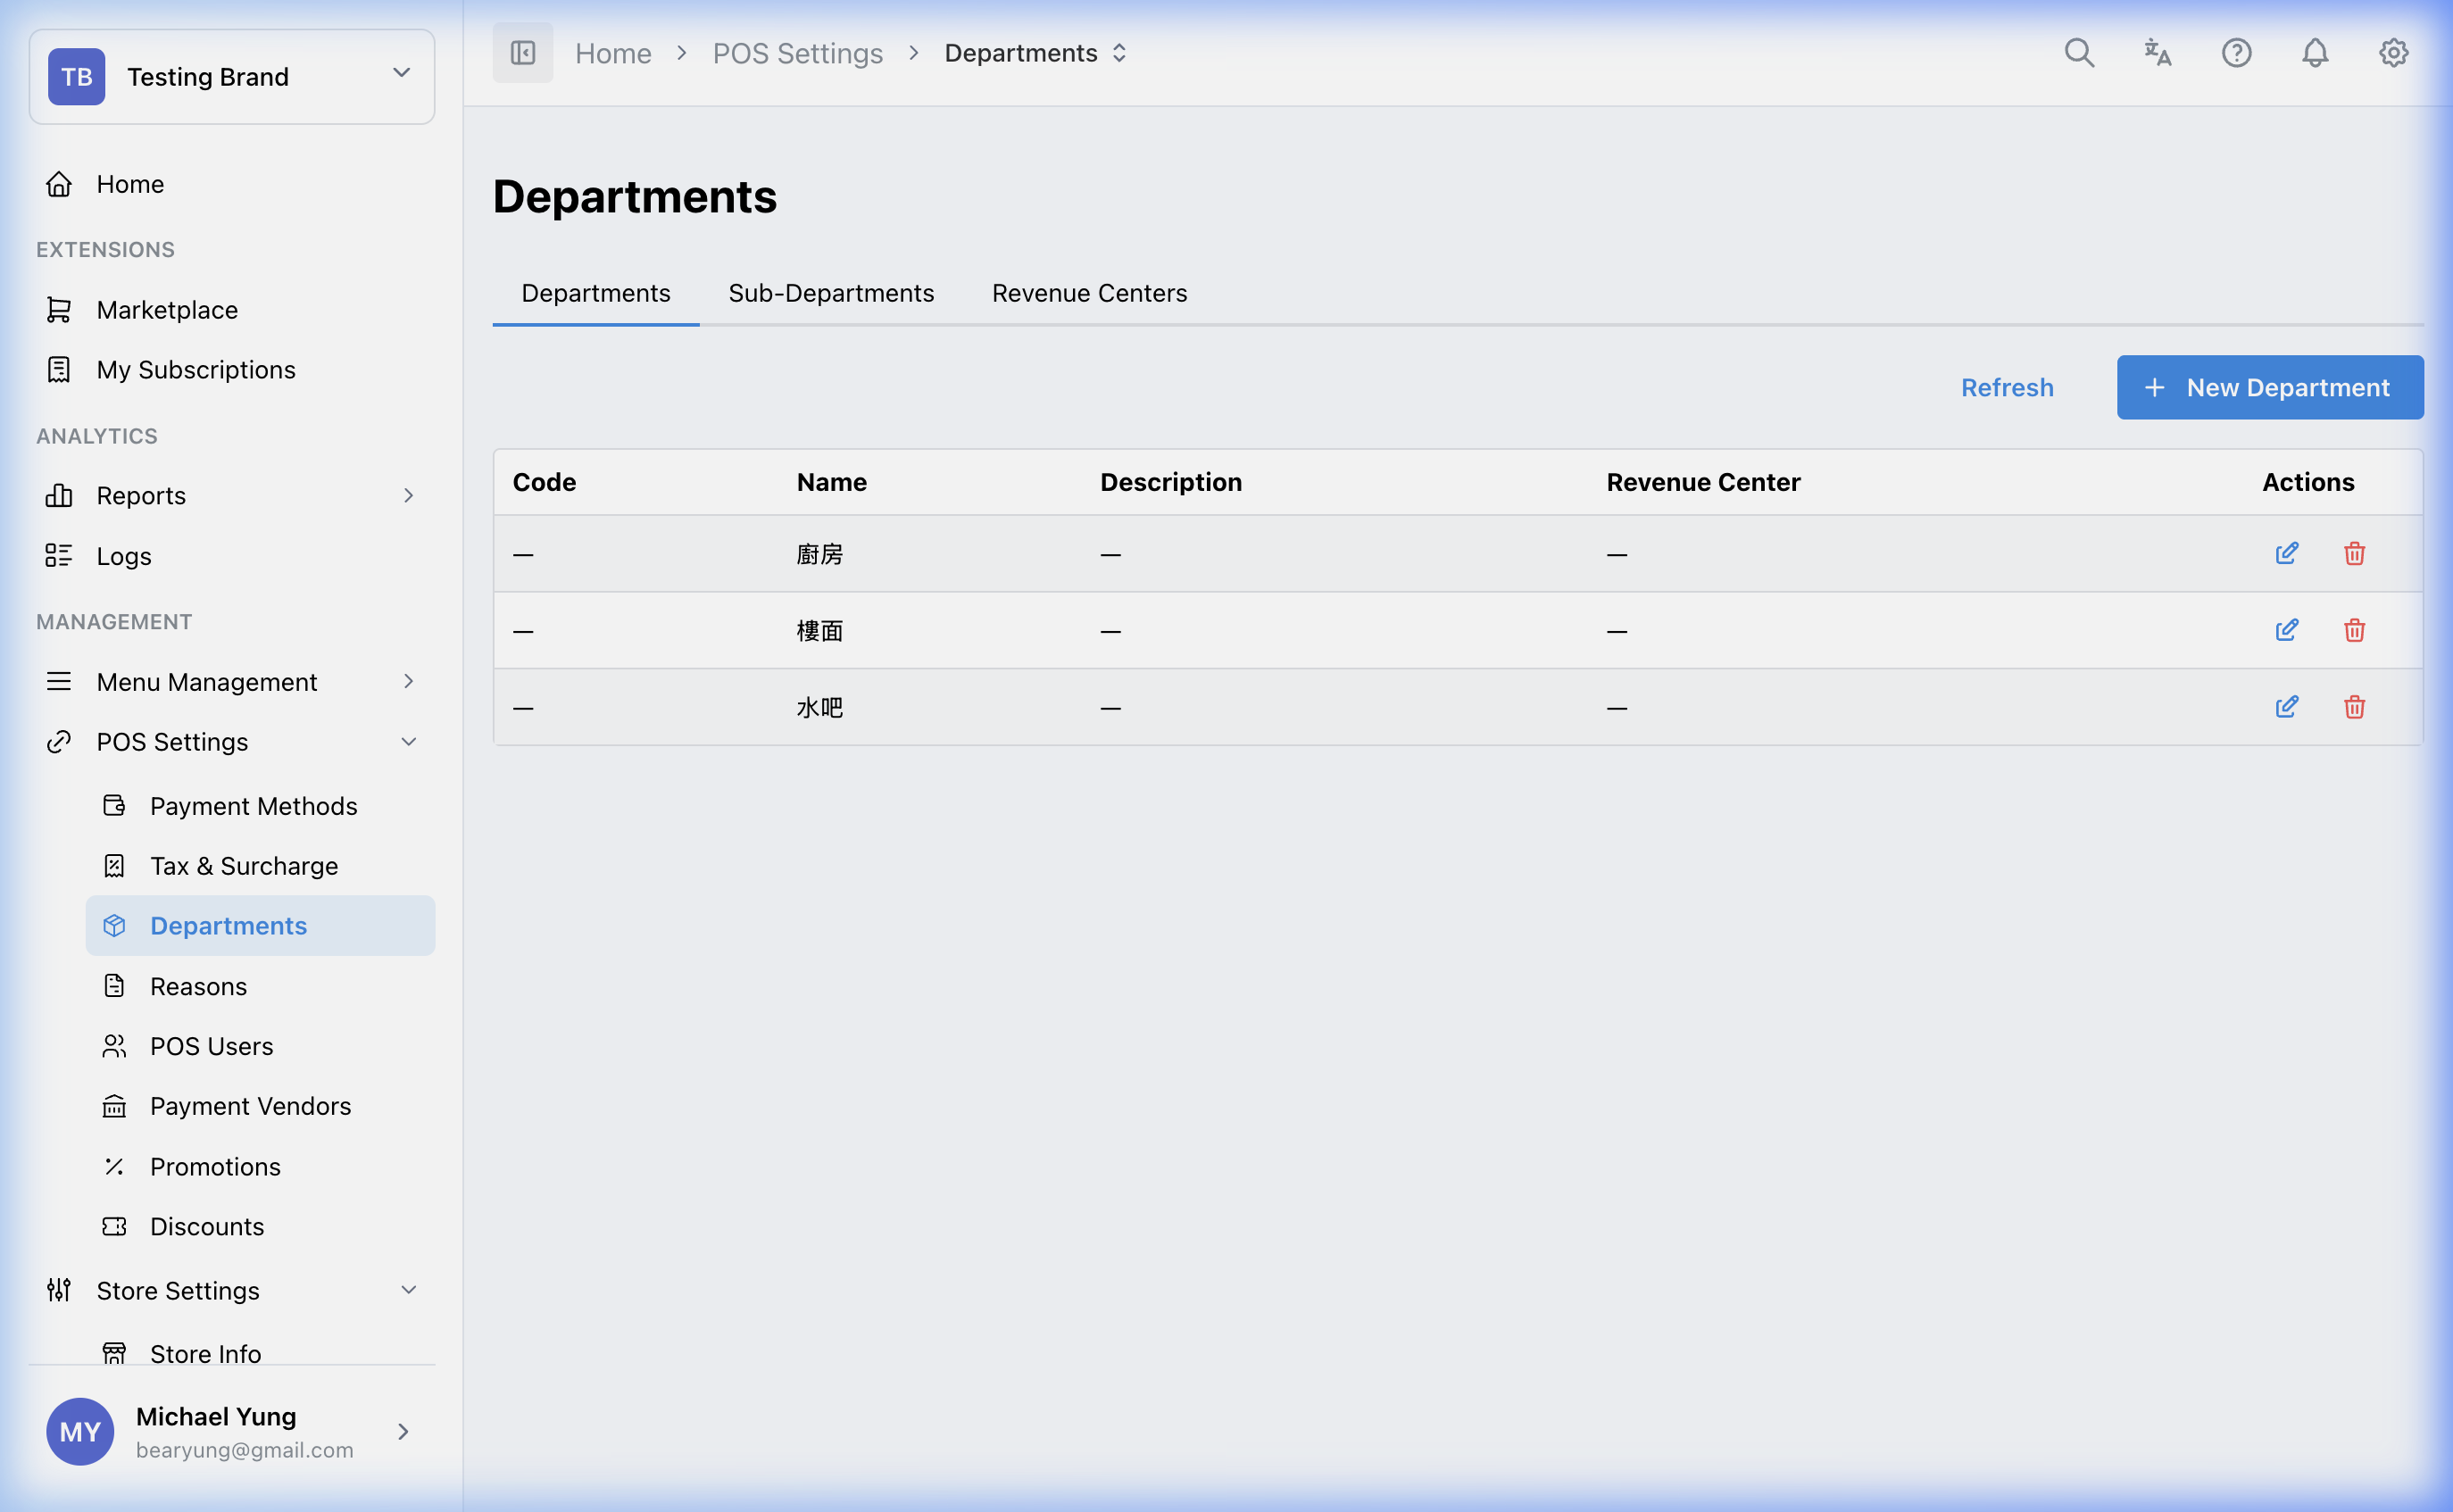
Open POS Settings -> Departments.
What this page controls
Departments controls the reporting structure used to group sales and related data.
Use this page to manage:
- top-level departments
- sub-departments
- revenue-center-related grouping
This structure is important for reporting, accounting, and item roll-up.
Main sections
Department hierarchy
The page works across related structure levels:
DepartmentsSub-DepartmentsRevenue Centers
Top-level departments are the main reporting buckets. Sub-departments provide more detailed roll-up inside those buckets.
Key fields
CodeNameDescriptionParent DepartmentRevenue Center Code
Beast Mode
Use Beast Mode when you need to create several records at the same structure level with the same shared settings.
When Beast Mode is on, enter one row for each record with:
CodeNameDescription
The shared settings below the row list apply to every record created in that save. For sub-departments, confirm the shared Parent Department before saving.
Use normal create mode when each department, sub-department, or revenue center needs different parent or reporting settings.
Steps
- Open
POS Settings->Departments. - Decide which level you need to create or edit.
- Enter the
CodeandName. - If creating a sub-department, select the correct
Parent Department. - Set the
Revenue Center Codeonly when reporting requires it. - Save the record.
Create several records at once
- Open
POS Settings->Departments. - Choose the correct tab:
Departments,Sub-Departments, orRevenue Centers. - Select the new-record button for that tab.
- Turn on
Beast Mode. - Enter one row for each department, sub-department, or revenue center.
- Complete the shared settings below the row list.
- Select
Create. - Review the list and confirm every record was created at the correct level.
What changes after you save
These changes affect how data is grouped in HQ reporting and how items should be mapped elsewhere in setup.
How to check your change
- Reopen the department list and confirm the record is in the correct hierarchy level.
- Verify that items meant to use the structure are mapped to the correct department level.
- Confirm the reporting structure still matches the finance or operations expectation.
If something goes wrong
- Confirm the record was created at the correct level.
- Check whether the item mapping issue is caused by a missing sub-department.
- Review whether the wrong revenue center code was applied.
When to ask owner/admin
- The reporting hierarchy is shared across multiple shops and teams.
- Finance depends on the department structure and the correct roll-up is unclear.