Smart Categories
Admins who need dynamic or rule-based category groupings for POS or online ordering display.
Before you start
- Confirm the correct brand.
- Decide whether you are managing POS smart categories, online smart categories, or both.
- Check whether the items you want to group already exist.
Open this page
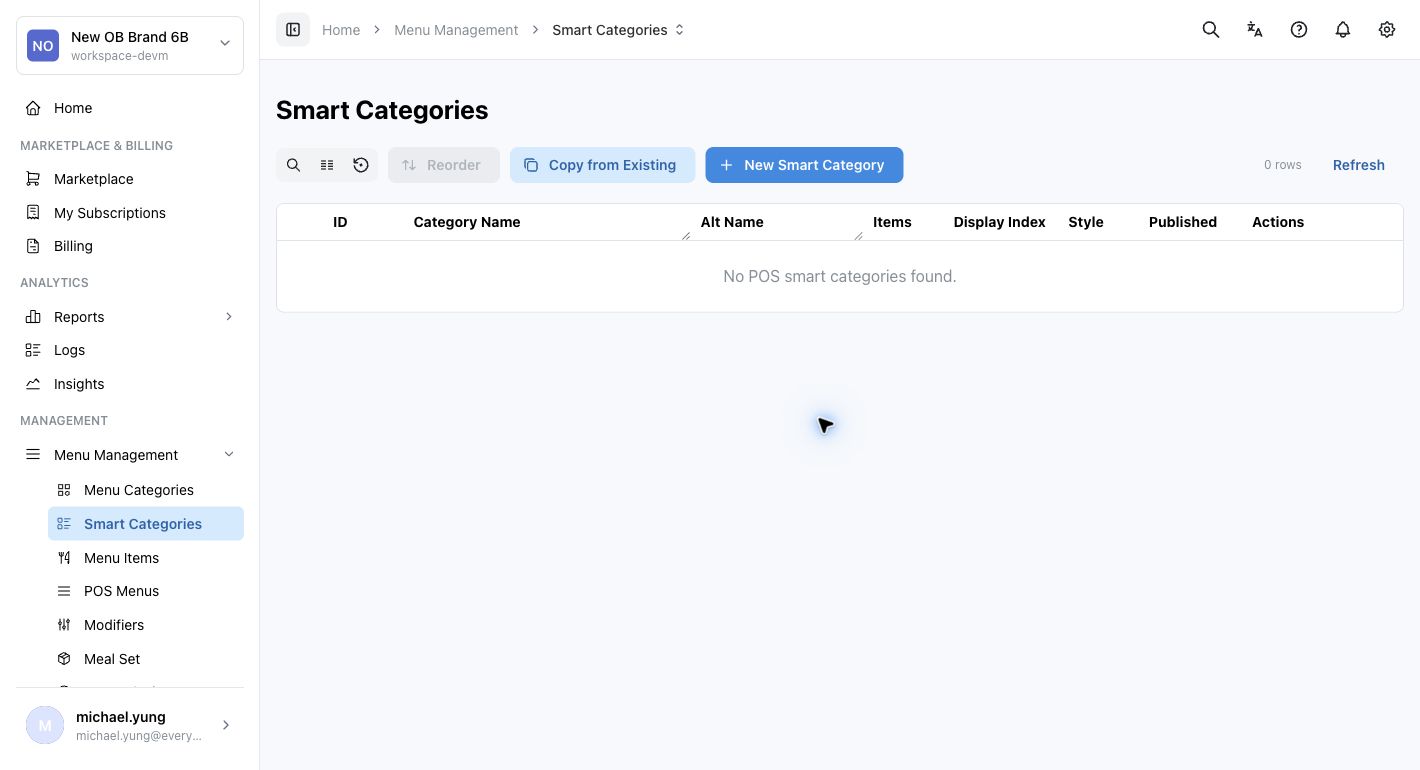
Open Menu Management -> Smart Categories.
What this page is for
Smart Categories lets you create category groupings that are more flexible than the standard menu category tree.
Use this page when you need to:
- create a display-focused category without rebuilding the base category structure
- manage item relationships in a smart category
- manage shop display settings
- manage order-channel settings
Main sections
Main list
The main list includes fields such as:
Category NameCategory Name (Alt)Display OrderButton StylePublic Display
Key actions include:
SearchRefreshShow recently removedReorderCopy from ExistingNew Smart Category
The table now also shows the current row count and keeps the main tools grouped above the list, so you can search, refresh, restore, reorder, copy, or create without leaving the page.
Category editor
When you create or edit a smart category, you can work with fields such as:
Category NameCategory Name (Alt)Parent CategoryDisplay OrderButton StylePublic Display
If the required Button Style does not exist yet, use Create button style beside the selector, enter Style Name, choose Color Palette, check Preview, and select Create Style.
Beast Mode
Use Beast Mode when you need to create several smart categories with the same shared settings.
When Beast Mode is on, enter one row for each smart category. The editor creates all listed rows after you save. Shared settings such as Parent Category, Display Order, Button Style, and Public Display apply to every smart category created in that save.
Use normal create mode when each smart category needs different parent, display, or style settings.
Detail tabs
The page can show tabs for:
ItemsShop Display SettingsOrder Channels
Use these tabs to control what the smart category contains and where it appears.
Restore a recently removed smart category
Use Show recently removed when a smart category was removed by mistake.
- The toggle only shows smart categories removed in the last 24 hours. Smart categories removed longer ago are not included.
- Recently removed rows use a light gray background.
- A recently removed row only shows the restore action. The edit, copy, and delete actions are hidden.
- Select the restore icon to make the smart category active again.
- HQ blocks the restore if the parent category is not active or another active smart category at the same level already has the same name.
Steps
- Open
Menu Management->Smart Categories. - Select
New Smart Categoryor open an existing category to edit. - Enter
Category Name. - Optionally enter
Category Name (Alt). - Select
Parent Categoryif this category should sit under another category. - Set
Display Order. - Select
Button Styleif you want a specific appearance. - Turn
Public Displayon or off as needed. - Save the category.
- Open the detail tabs to manage
Items,Shop Display Settings, orOrder Channels. - If you removed a smart category by mistake, turn on
Show recently removed. - Find the light gray row and select the restore icon.
- If HQ blocks the restore, review the parent category and any active smart category with the same name before trying again.
Create several smart categories at once
- Open
Menu Management->Smart Categories. - Select
New Smart Category. - Turn on
Beast Mode. - Enter one row for each smart category.
- Complete the shared settings below the row list.
- Select
Create. - Review the main list and confirm every smart category was created.
What changes after you save
Saving the category updates the smart category record, but you may still need to review where it appears by shop or channel.
How to check your change
- Return to the main list and confirm the category is present.
- Check the
Display OrderandPublic Displayvalues. - Review the relevant detail tab to confirm the expected items, shop settings, or channels are attached.
If something goes wrong
- Confirm you edited the correct smart category type.
- Check whether the issue is in the category record or in the tab-level settings.
- If the category does not appear, review
Public Displayand the target channel or shop settings. - If restore is blocked, check whether the parent category is still active and whether another active smart category at the same level has the same name.
When to ask owner/admin
- You are unsure whether the category should be standard or smart.
- The category needs to appear in multiple channels and you cannot verify each one.
- You are changing live navigation for active POS or online ordering users.