Categories
Admins who organize how cashiers browse products on the POS.
Before you start
- Confirm the correct brand.
- Decide whether you need a new root category or a sub-category.
- Make sure the button structure will stay simple enough for fast cashier use.
Open this page
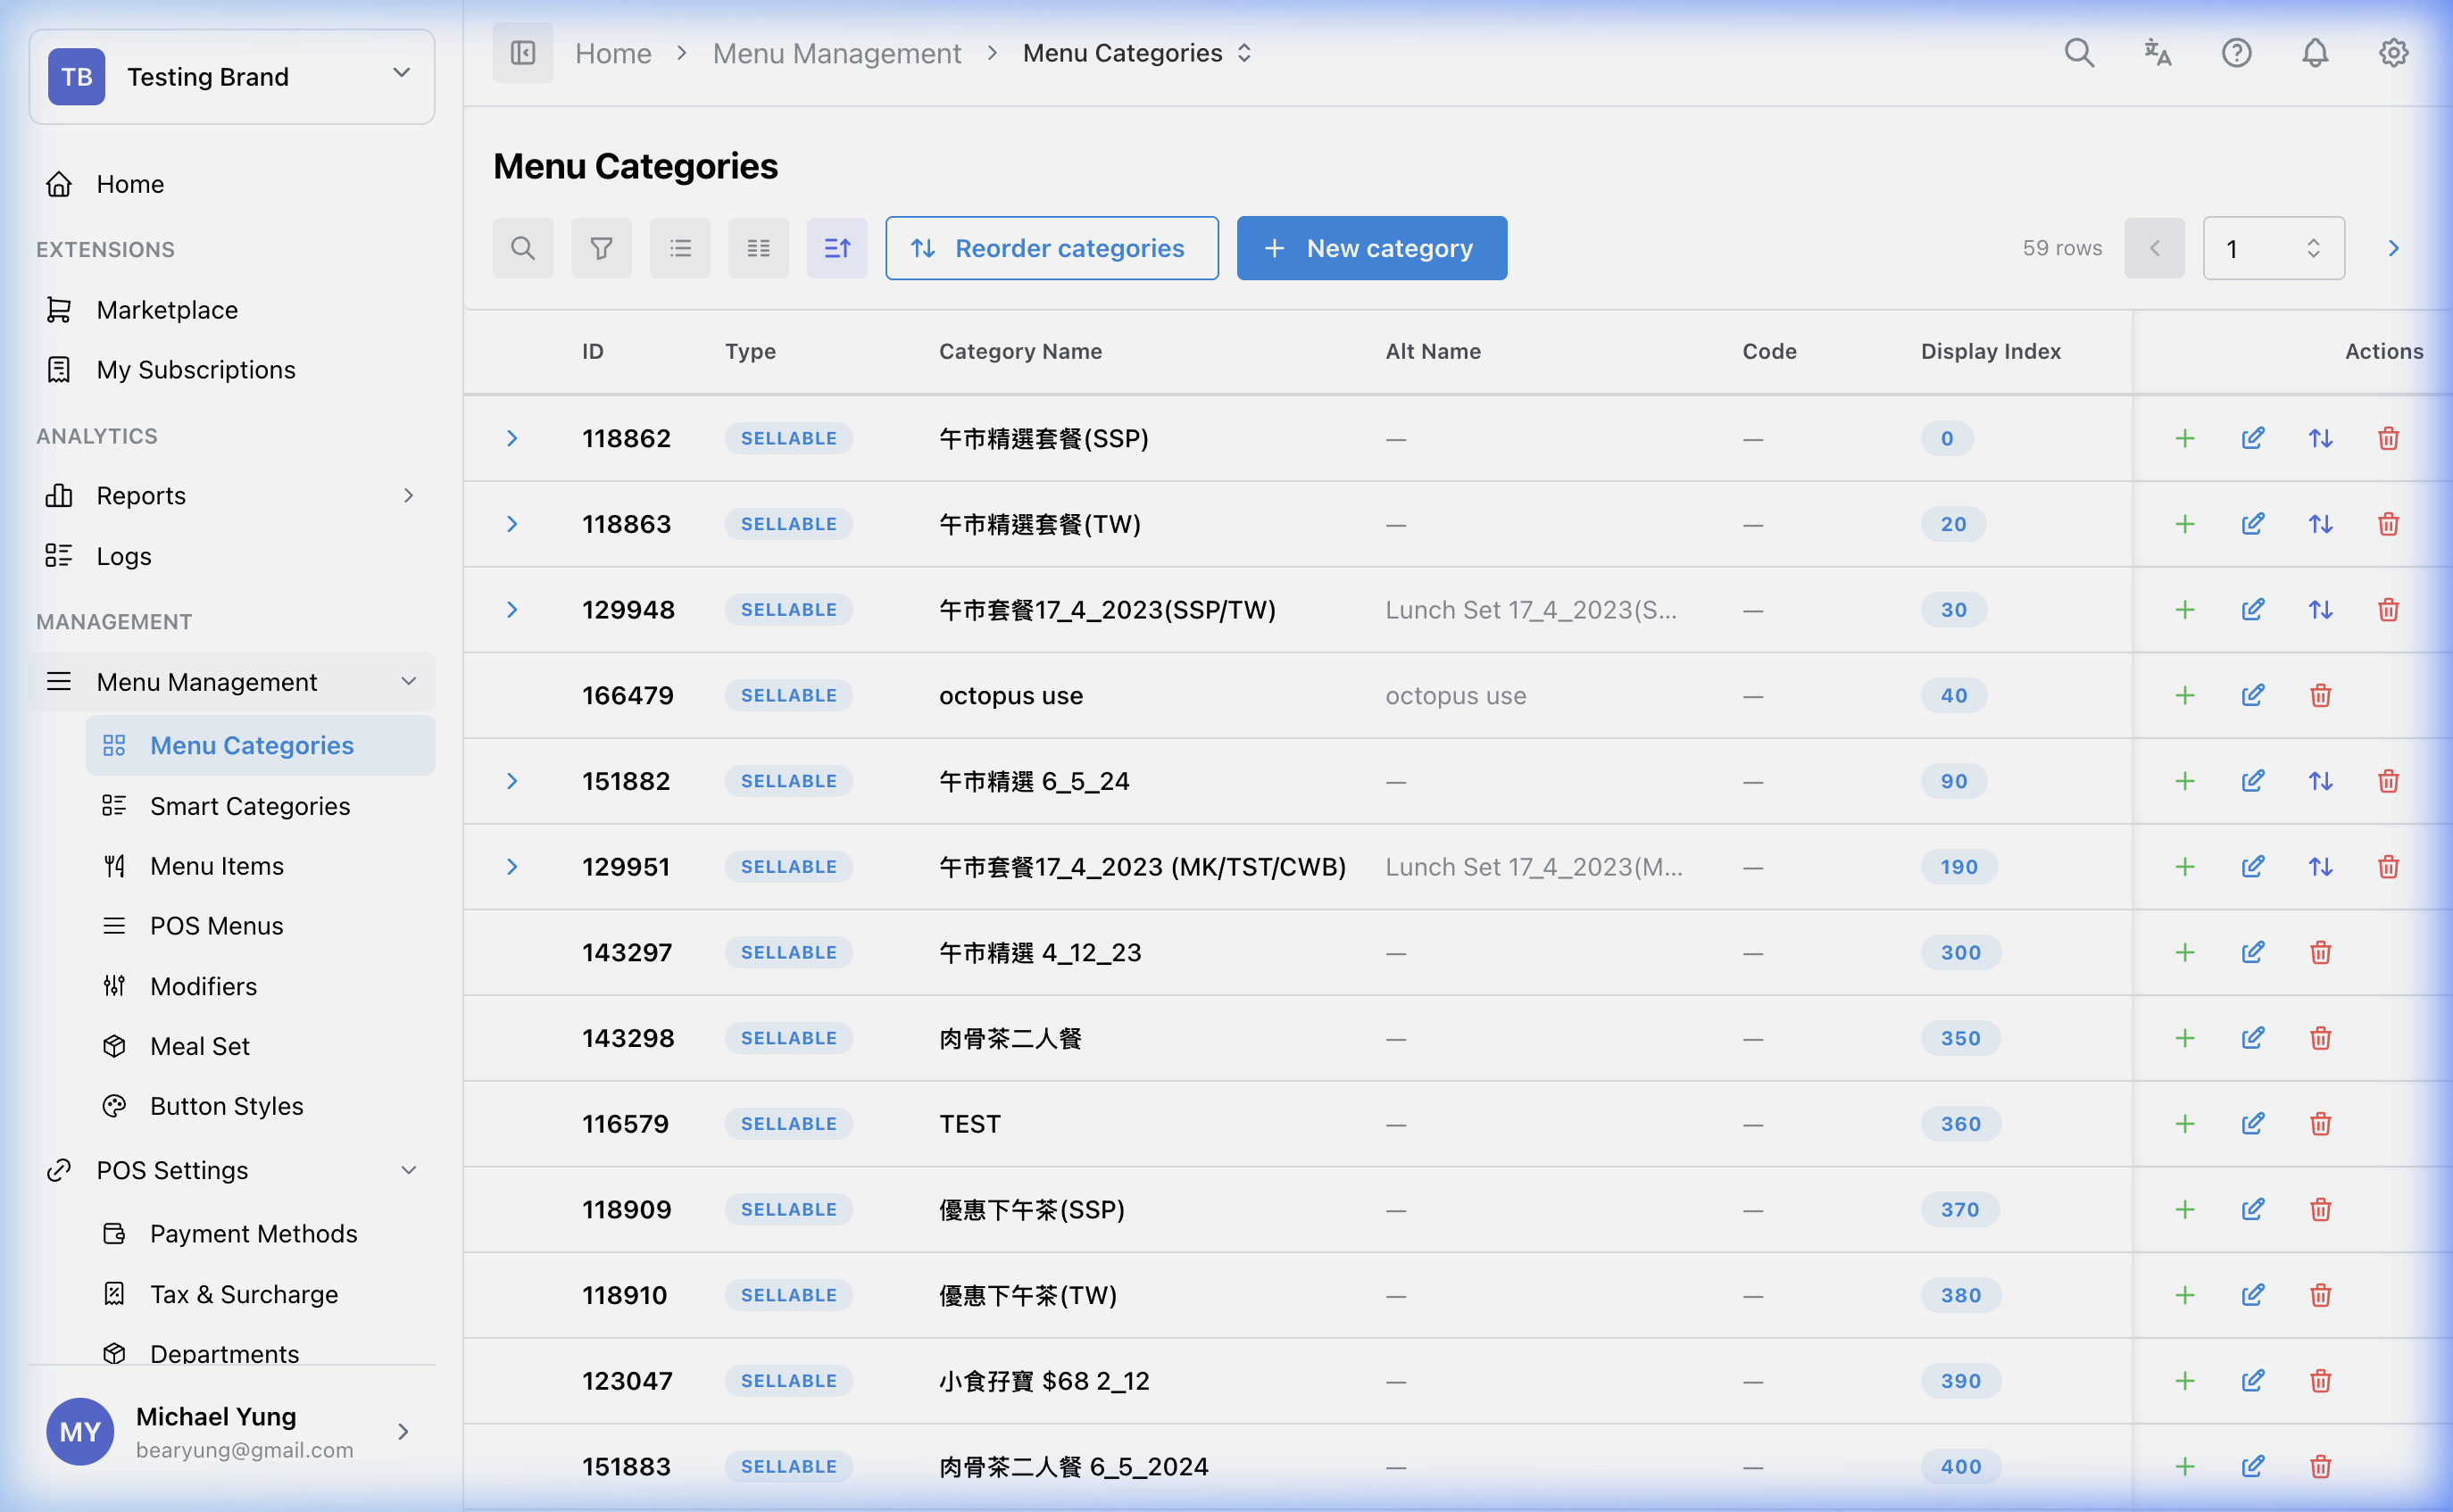
Open Menu Management -> Categories.
What this page controls
Categories controls how items are grouped in the POS browsing structure.
Use this page to define:
- root categories
- sub-categories
- category display order
- category display behavior
Categories mainly control browsing and display. They do not replace Departments, which control financial reporting structure.
Main sections
Category hierarchy
Categories can be nested. In practice, keep the structure shallow enough for staff to use quickly.
- root categories appear as the main top-level choices
- sub-categories sit inside a parent category
- items are attached at the usable category level
Try to keep the path short enough that staff can reach sellable items quickly during service.
Key fields
| Field | What it controls | When to change it |
|---|---|---|
Category Type | What kind of content the category is intended to hold | When the category is for sellable items, modifiers, or combo-related use |
Category Code | Short internal code for the category | When your team uses category codes for setup, support, or imports |
Category Name and Alternative Name | What users see on the category button | When the display text changes or needs another language |
Button Style | Visual style for the category button | When you want consistent button appearance |
| display visibility fields | Whether the category appears in supported displays or channels | When rollout differs by surface |
Printer Mapping | Advanced print routing for the category | When output routing should be controlled at category level |
If the required Button Style does not exist yet, use Create button style beside the selector, enter Style Name, choose Color Palette, check Preview, and select Create Style.
Shop settings
Use Shop Settings in the category editor when the category should be publicly displayed in some shops but not others.
At this time, the shop-level setting available in this section is Public Display. Other category details, such as Category Type, Parent Category, Display Order, Button Style, and the main visibility options, are shared by the category record.
Beast Mode
Use Beast Mode when you need to create several categories with the same shared settings.
When Beast Mode is on, the editor lets you enter multiple rows with:
Category CodeCategory NameAlternative Name
The shared settings below the row list apply to every category created in that save, including Category Type, Parent Category, Display Order, Button Style, Visible in Menu, and Shop Settings.
Use normal create mode when each category needs different parents, styles, display settings, or shop visibility.
Reordering
Use the reorder action when the current category order no longer matches how staff should browse the menu.
Restore a recently removed category
Use Show recently removed when a category was removed by mistake.
- The toggle only shows categories removed in the last 24 hours. Categories removed longer ago are not included.
- Recently removed rows use a light gray background.
- A recently removed row only shows the restore action. The edit, copy, and delete actions are hidden.
- Select the restore icon to make the category active again.
- HQ blocks the restore if the parent category is not active, another active category at the same level already has the same name, or another active category already has the same code.
Steps
- Open
Menu Management->Categories. - Create a new category or open an existing one.
- Enter the
Category Codeif your team uses one. - Select the correct
Category Type. - Enter the
Category NameandAlternative Nameif needed. - Apply a
Button Styleif required. - Set
Visible in MenuandShop Settingsfor the intended shops or channels. - Save the category.
- Select
Reorderif the browsing order also needs to change. - If you removed a category by mistake, turn on
Show recently removed. - Find the light gray row and select the restore icon.
- If HQ blocks the restore, review the parent category and any active category with the same name or code before trying again.
Create several categories at once
- Open
Menu Management->Categories. - Select
New Category. - Turn on
Beast Mode. - Enter one row for each category.
- Complete the shared settings below the row list.
- Select
Create. - Review the category list and confirm every category was created.
What changes after you save
These changes affect the menu structure used for browsing. They can change what staff see on the POS and can also affect related rollout in other displays depending on the visibility settings.
How to check your change
- Reopen the category list and confirm the saved values.
- Check the category hierarchy and display order.
- Verify the expected menu path appears where staff should use it.
If something goes wrong
- Confirm the category is in the correct level of the hierarchy.
- Check whether the issue is in category order, visibility, or item assignment.
- If the category exists but does not appear where expected, review the relevant display or channel visibility fields.
- If restore is blocked, check whether the parent category is still active and whether another active category has the same name or code.
When to ask owner/admin
- The change affects multiple shops or customer-facing channels and you cannot verify all of them.
- You are unsure whether the structure should be a standard category or a Smart Category.