Workspace Administration
Workspace admins, owners, and managers who maintain the HQ business structure or give office staff access to companies, brands, and shops.
Before you start
- Confirm the correct workspace is selected in the top-left workspace and brand selector.
- Decide whether you need to update business structure, invite a workspace member, or assign HQ business access.
- For a new workspace, confirm the permanent
Workspace regionbefore creating the first company, brand, or shop. - Prepare the member email address before sending an invitation.
- Confirm which
Company,Brand, orShopthe person should access, and what role they should receive.
Open this page
Open the workspace and brand selector in the upper-left corner, then select Workspace Administration.
What this page controls
Workspace Administration manages the business structure and HQ access rules inside the active workspace.
It controls:
Workspace regionCompaniesBrandsShopsBusiness Access
It does not create cashier logins for the POS terminal. For cashier accounts, use POS Users.
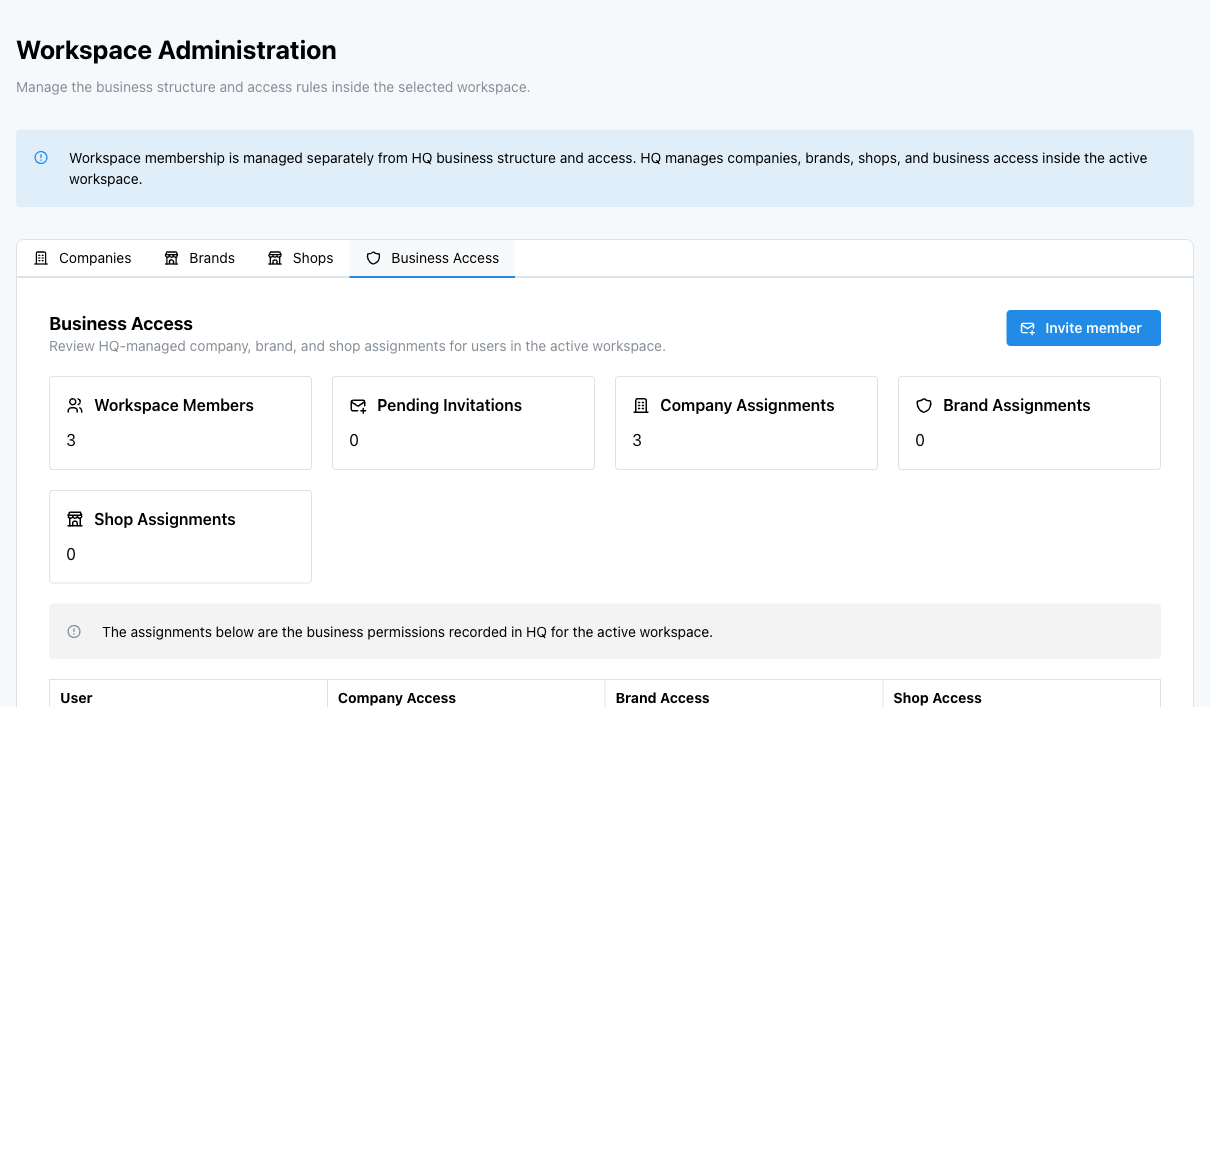
Business Access shows workspace members, pending invitations, and their company, brand, and shop assignments.
Main tabs
Companies
Use Companies to create or maintain the top level of the business structure. A company can contain one or more brands.
Brands
Use Brands to create or maintain brands under a company. A brand is the main scope used by many HQ setup pages, and brand records can include receipt branding details such as the logo used on printed receipts.
Shops
Use Shops to create or maintain shop records under a brand. Shop records are used by store settings, POS setup, reports, and online ordering.
Business Access
Use Business Access to review workspace members, pending invitations, and the HQ business access assigned to each person.
This tab separates two jobs:
- workspace membership: whether the person belongs to the workspace
- HQ business access: which company, brand, or shop the person can work with in HQ
Members marked Workspace admin already have access across the active workspace. They do not need direct company, brand, or shop assignments before they can open HQ pages.
Guided setup for a new workspace
Use Start guided setup when a workspace has no company, brand, or shop yet.
The wizard shows five steps:
Choose TypeCompanyBrandShopConfirmation
For the first setup, New Company is selected and New Brand and New Shop stay disabled until the required parent records exist.
Key actions
Create a company, brand, or shop
- Select
Companies,Brands, orShops. - Click
Add New. - Enter the required
Name. - Select the parent
CompanyorBrandif HQ asks for one. - Enter the optional
DescriptionorAddressif needed. - Save the record.
Set up the first company, brand, and shop
- Open
Dashboardin the new workspace. - Select
Start guided setup. - Keep
New Companyselected. - Select
Next. - Enter the company details.
- Continue through
BrandandShop. - Review
Confirmation. - Save only when the company, brand, and shop names are correct.
- Return to
Dashboardand confirm the normal dashboard appears.
Invite a workspace member and assign access
- Select
Business Access. - Click
Invite member. - Enter the person's
Email. - Click
Send Invitation. - Find the new row marked
Pending invitation. - Click
Assign access. - Select the
Access level. - Select the
Target. - Select the
Role. - Click
Grant access. - Repeat the assignment if the person needs access to more than one company, brand, or shop.
Assign access to an existing workspace member
- Select
Business Access. - Find the member in the
Usercolumn. - Click
Assign access. - Select the
Access level,Target, andRole. - Click
Grant access.
Remove direct business access
- Select
Business Access. - Find the member or pending invitation.
- Find the company, brand, or shop assignment.
- Click
Removeon the assignment you want to remove.
If the assignment is marked Inherited, remove the higher-level source assignment instead.
What changes after you save
- Changes in
Companies,Brands, andShopsaffect the active workspace business structure. Business Accesschanges affect what the member can see or administer in HQ.- Workspace admins can administer the active workspace even when they do not have direct business access rows.
- Assignments added to a
Pending invitationare applied when the invited person accepts the invitation and signs in. - These changes do not create or change POS cashier logins.
How to check your change
- Confirm the new or updated company, brand, or shop appears in the correct tab.
- Select
Business Access. - Confirm the member, pending invitation, or assignment appears in the table.
- Check the summary cards for
Workspace Members,Pending Invitations,Company Assignments,Brand Assignments, andShop Assignments. - Ask the member to sign in and confirm they can see the expected brand or shop only.
If something goes wrong
- If
Sign-in requiredappears, ask the invited person to sign in to HQ once before assigning access to their active account. - If
Workspace adminappears instead ofAssign access, the member already has workspace-wide HQ access and does not need a direct assignment. - If
No assignable accessappears for someone who is not a workspace admin, your account may not have permission to grant access for that company, brand, or shop. - If a member can see too much or too little, check whether their access is assigned at
Company,Brand, orShoplevel. - If an assignment is inherited, remove the higher-level assignment that created it.
- If you need a cashier login for the POS terminal, go to POS Users instead.
When to ask owner/admin
- You are not sure which workspace, company, brand, or shop should receive the change.
- You need to grant or remove admin-level access for another manager.
- You need to delete or deactivate a company, brand, or shop.
- The access change affects live setup, payments, reports, or customer-facing channels.