Manage Printers
Manager or authorized staff managing printer setup and maintenance in Devices -> Printer.
Before you start
- You are signed in with device-setting permission
- Target printer is powered on and connected to the same network
POS Codeis set- If the printer was created in HQ, confirm the HQ printer name before editing the POS connection details
Quick flow
- Open
Devices. - Open
Printertab. - Check any row badge such as
HQ,Not configured, or failed-job count. - Select the printer row (or tap
Add Printer). - Run the required action (
Info,Test Print, edit, remove, or spooler). - Verify status before returning to operations.
Tasks
- Add Printer
- HQ-managed Printer
- Printer Info and Status
- Test Print
- Edit or Remove Printer
- Manage Printer Spooler
- Tap
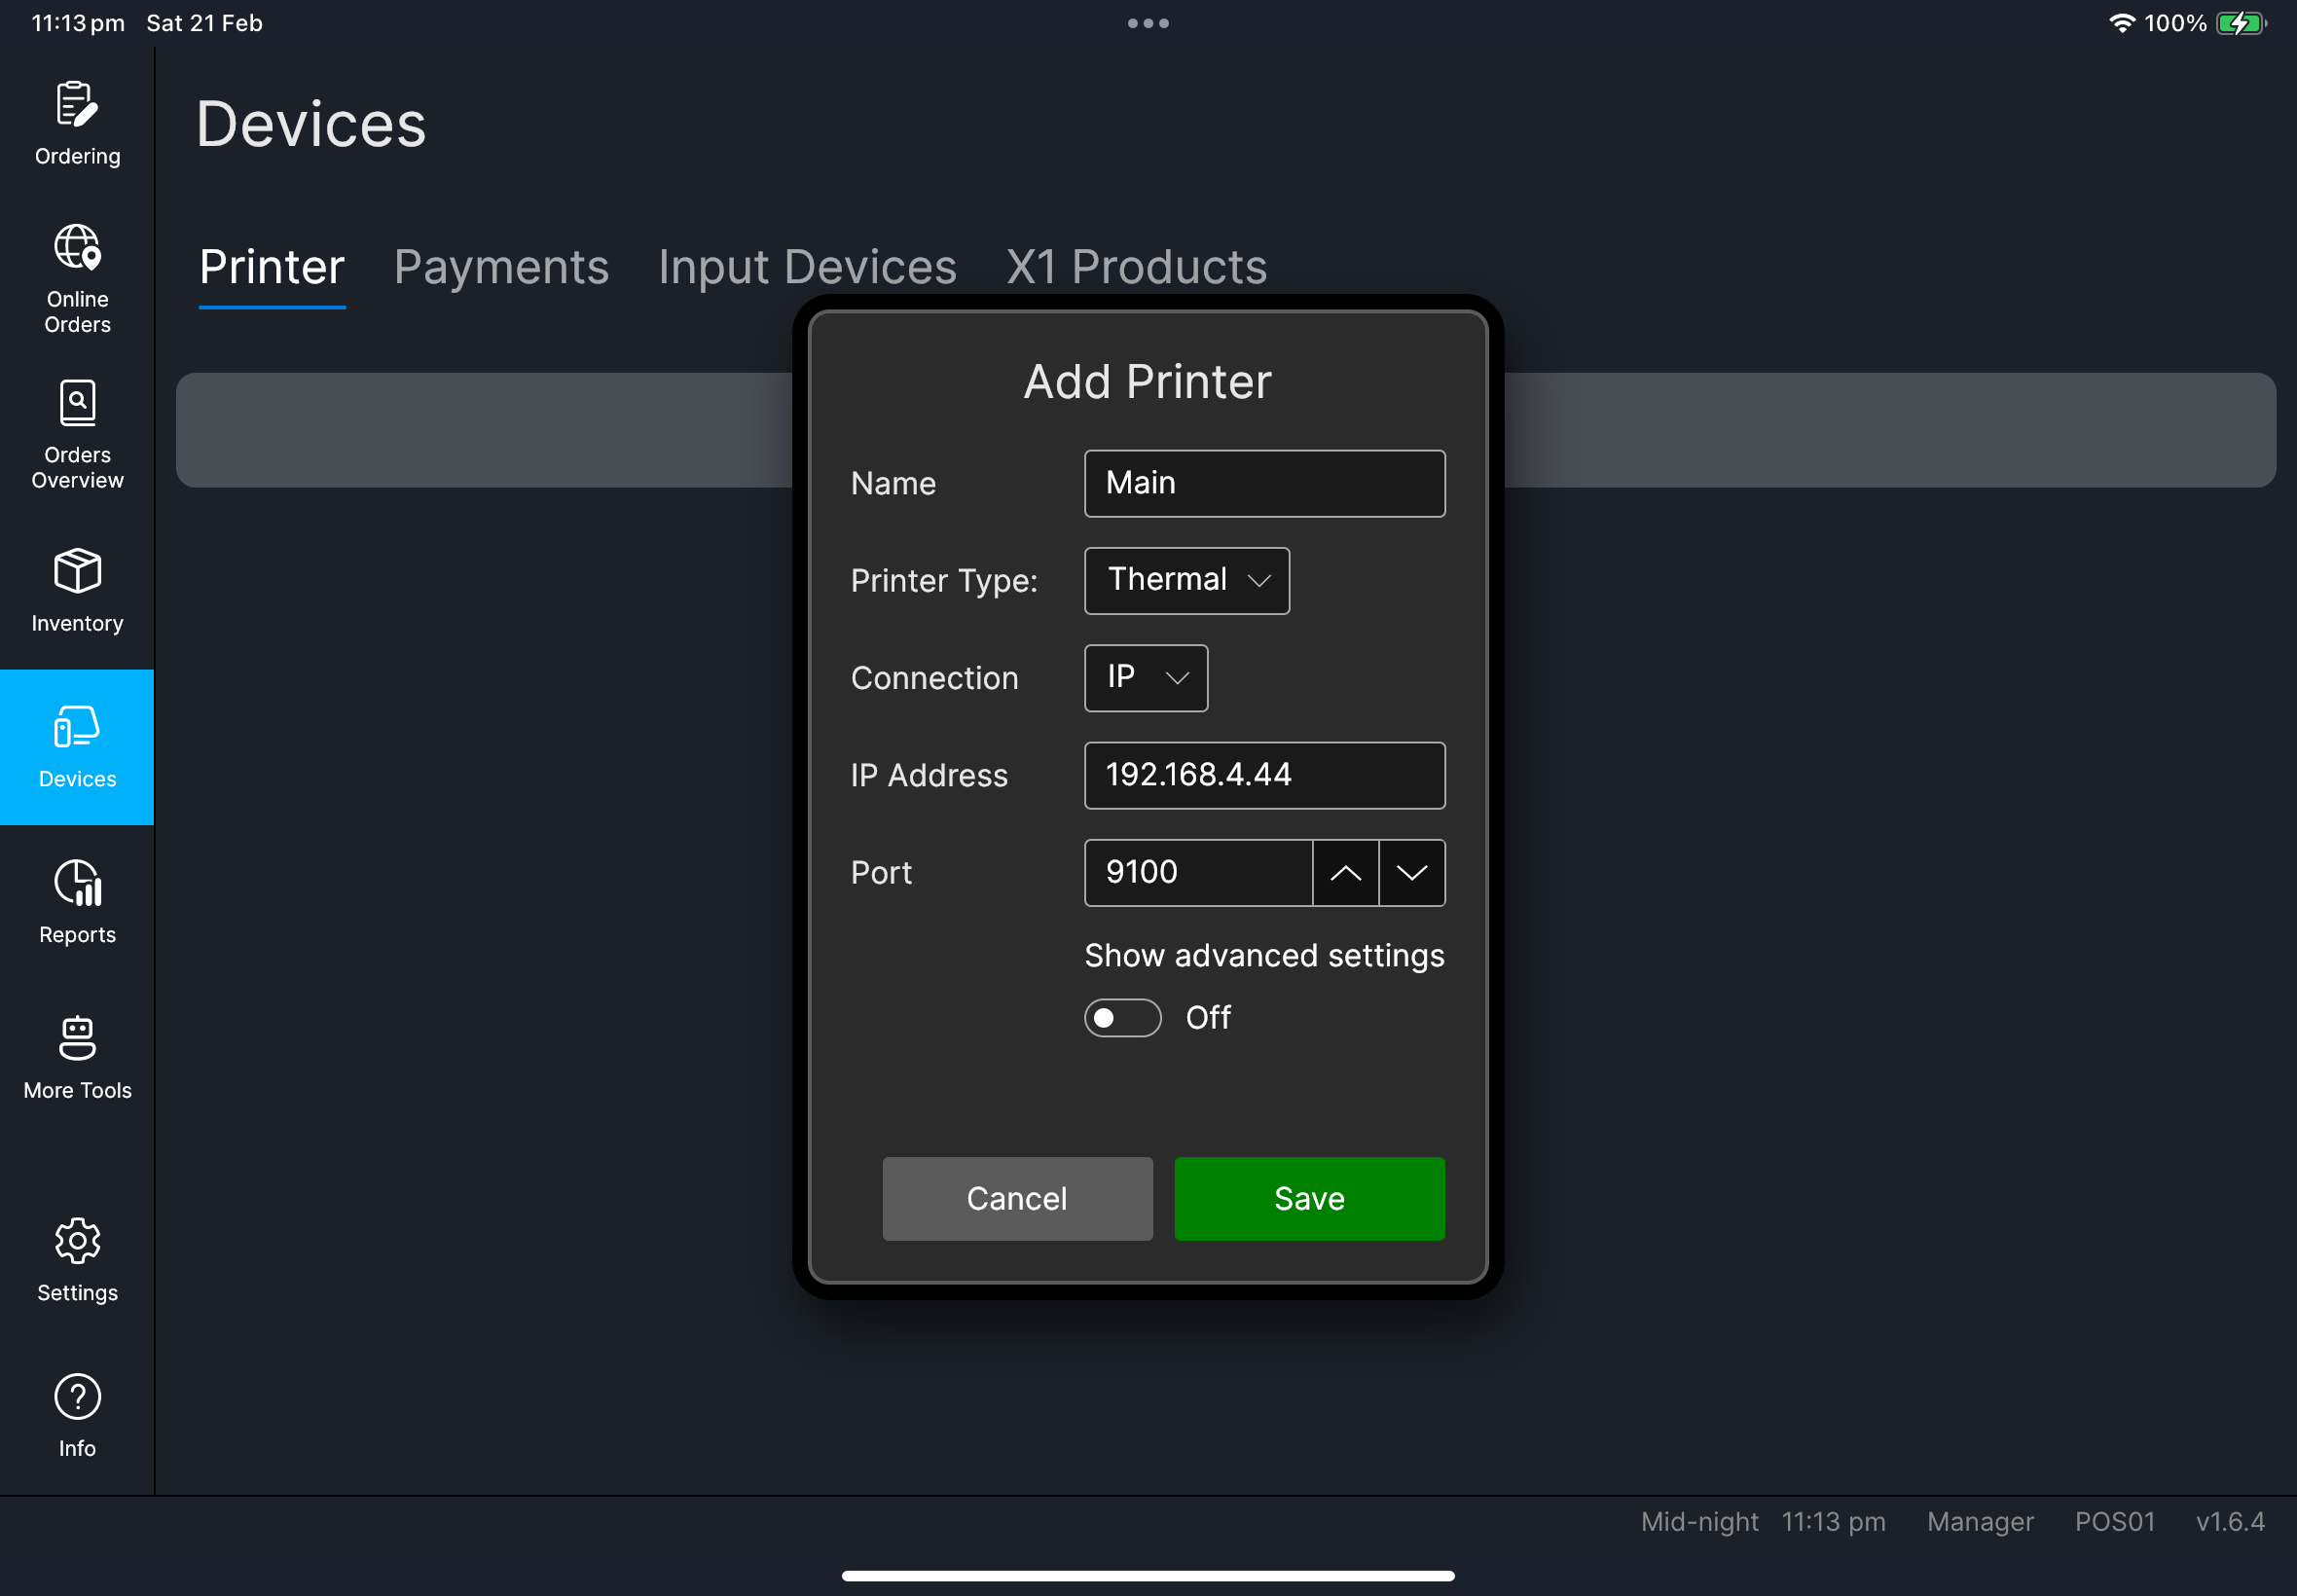
Add Printer. - Fill
Name,Printer Type,Connection,IP Address, andPort. - Tap
Save. - Tap
Test Print.
What to verify:
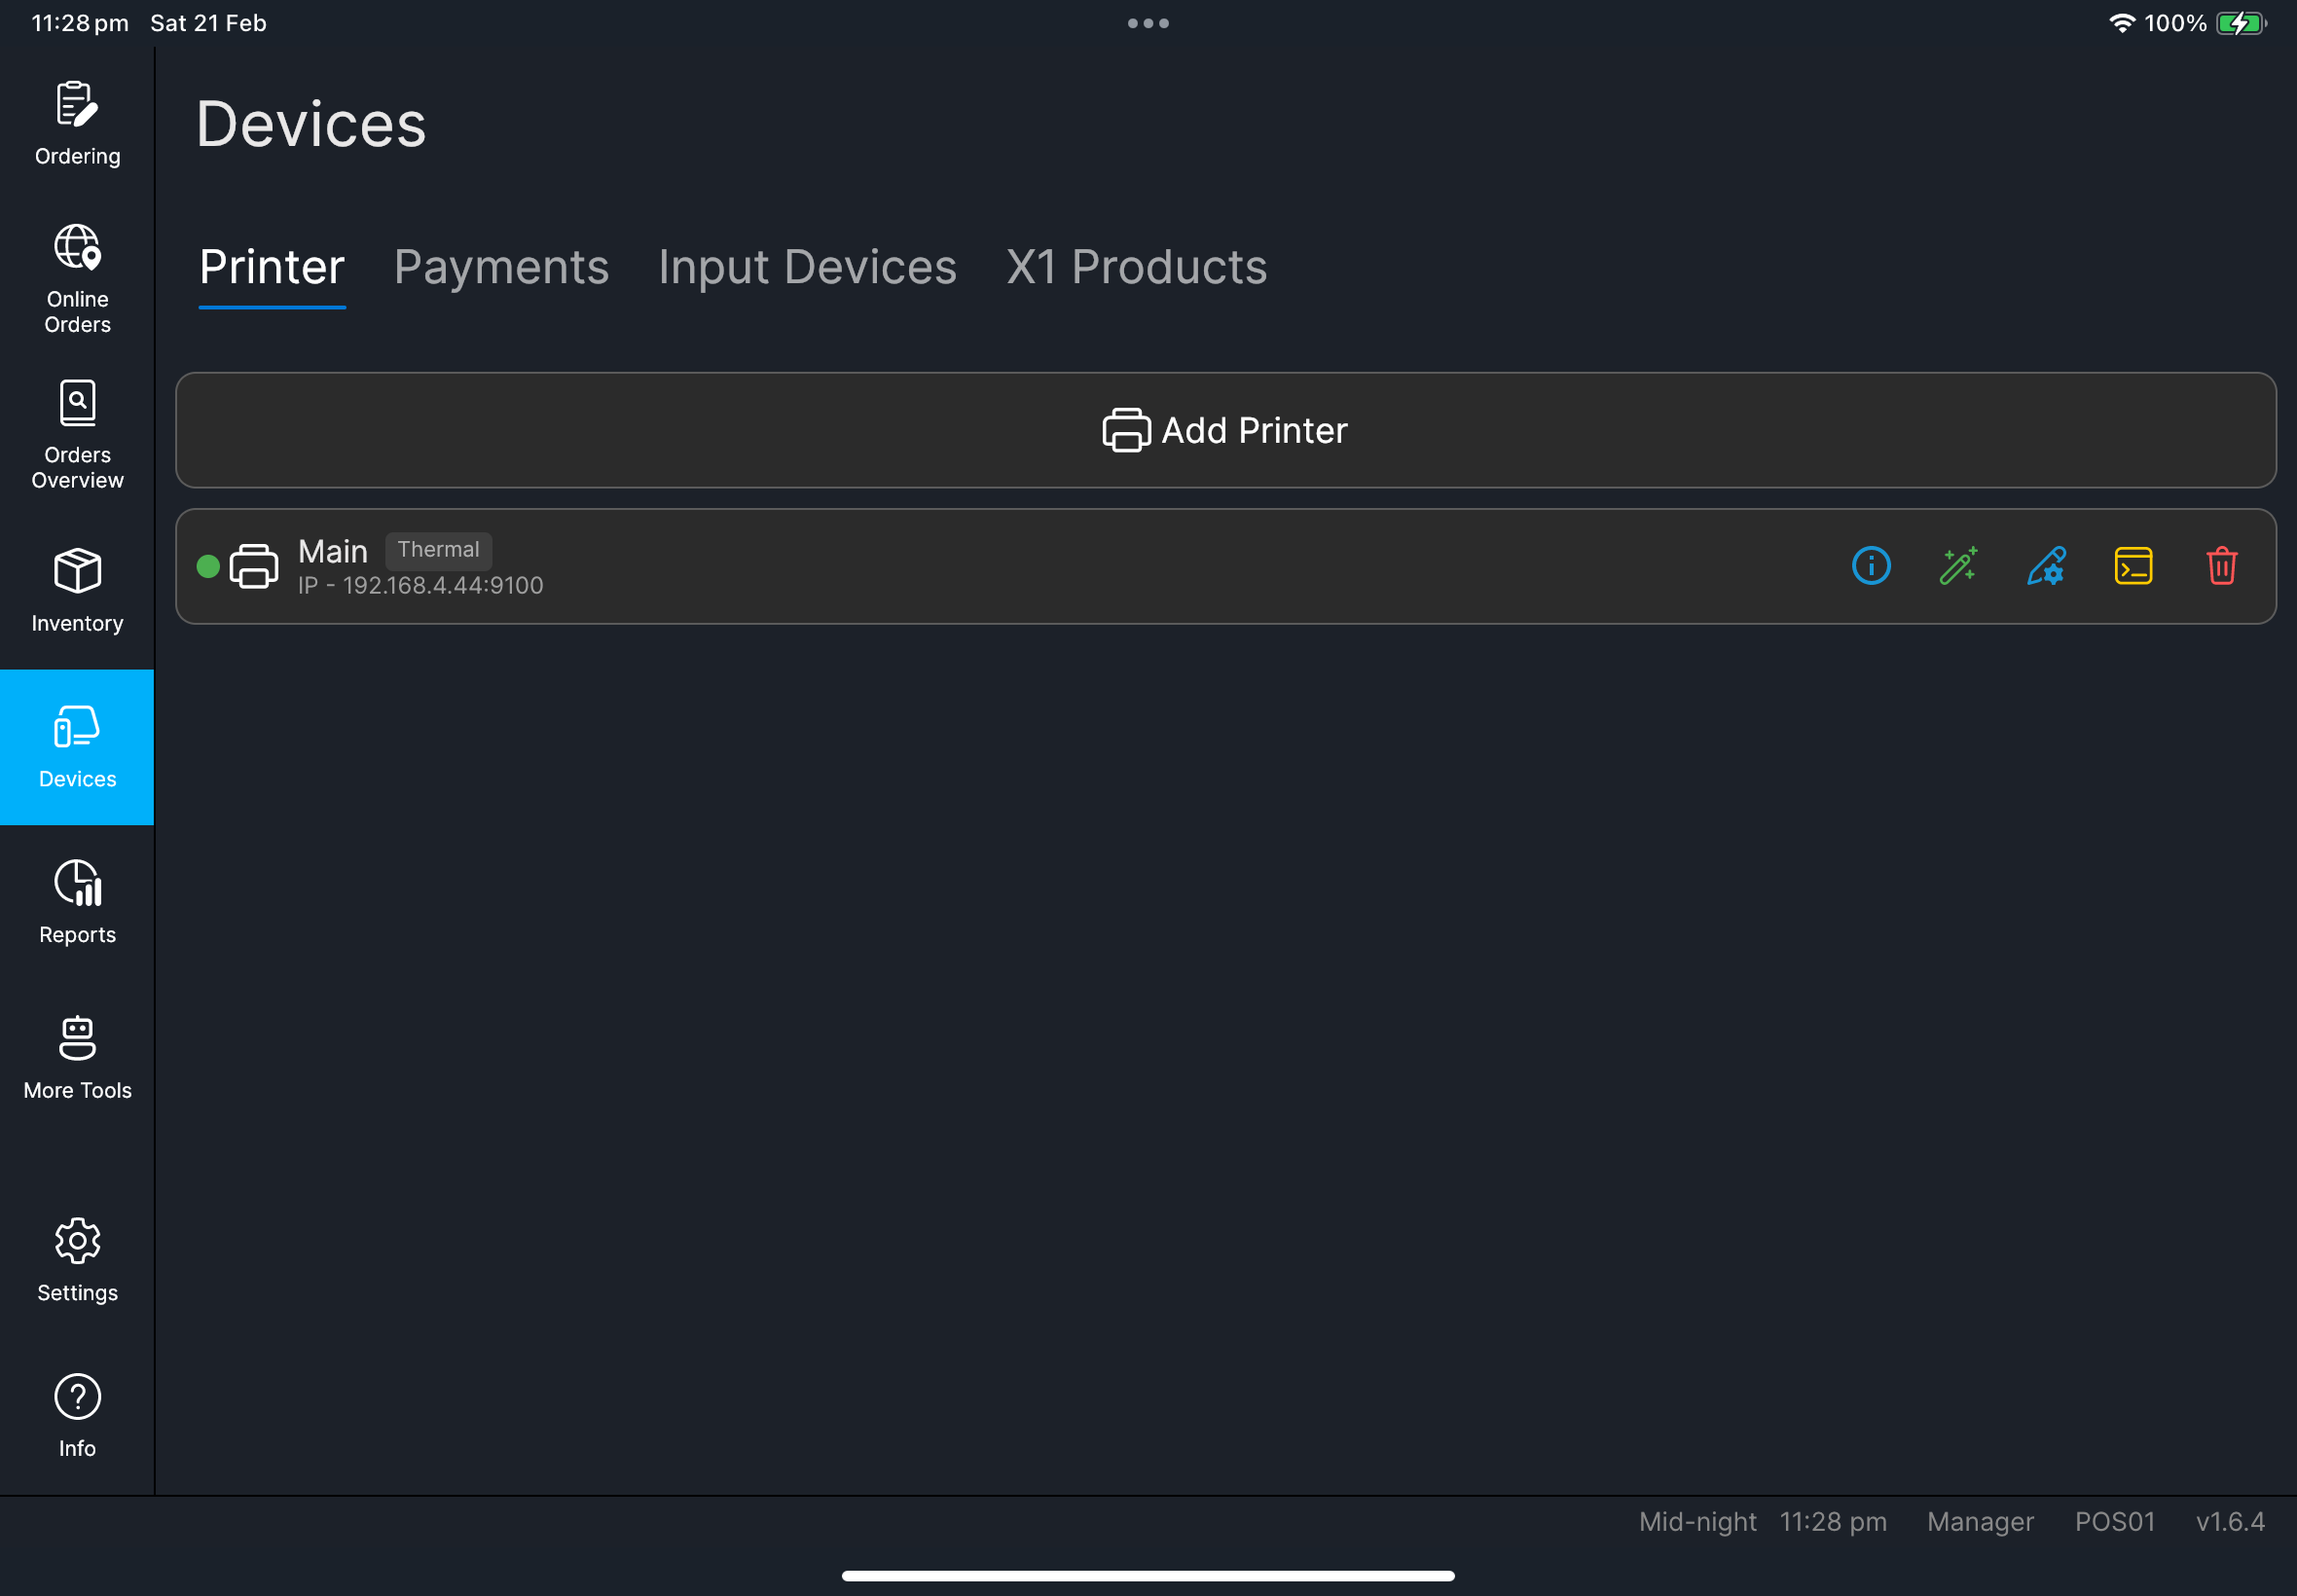
- Printer appears in list
- Status is connected/ready
- Test print success message appears
- If this is an HQ-managed printer, the row still shows
HQafter the local connection details are saved
- Open the
Printertab. - Find the printer row with the
HQbadge. - If the row also shows
Not configured, tap edit. - Fill the local connection details such as
Printer Type,Connection,IP Address, andPort. - Tap
Save. - Tap
Test Print.
What to verify:
- The
HQbadge remains on the printer row - The
Not configuredlabel clears after the local setup is saved Test Printsucceeds before you return to service
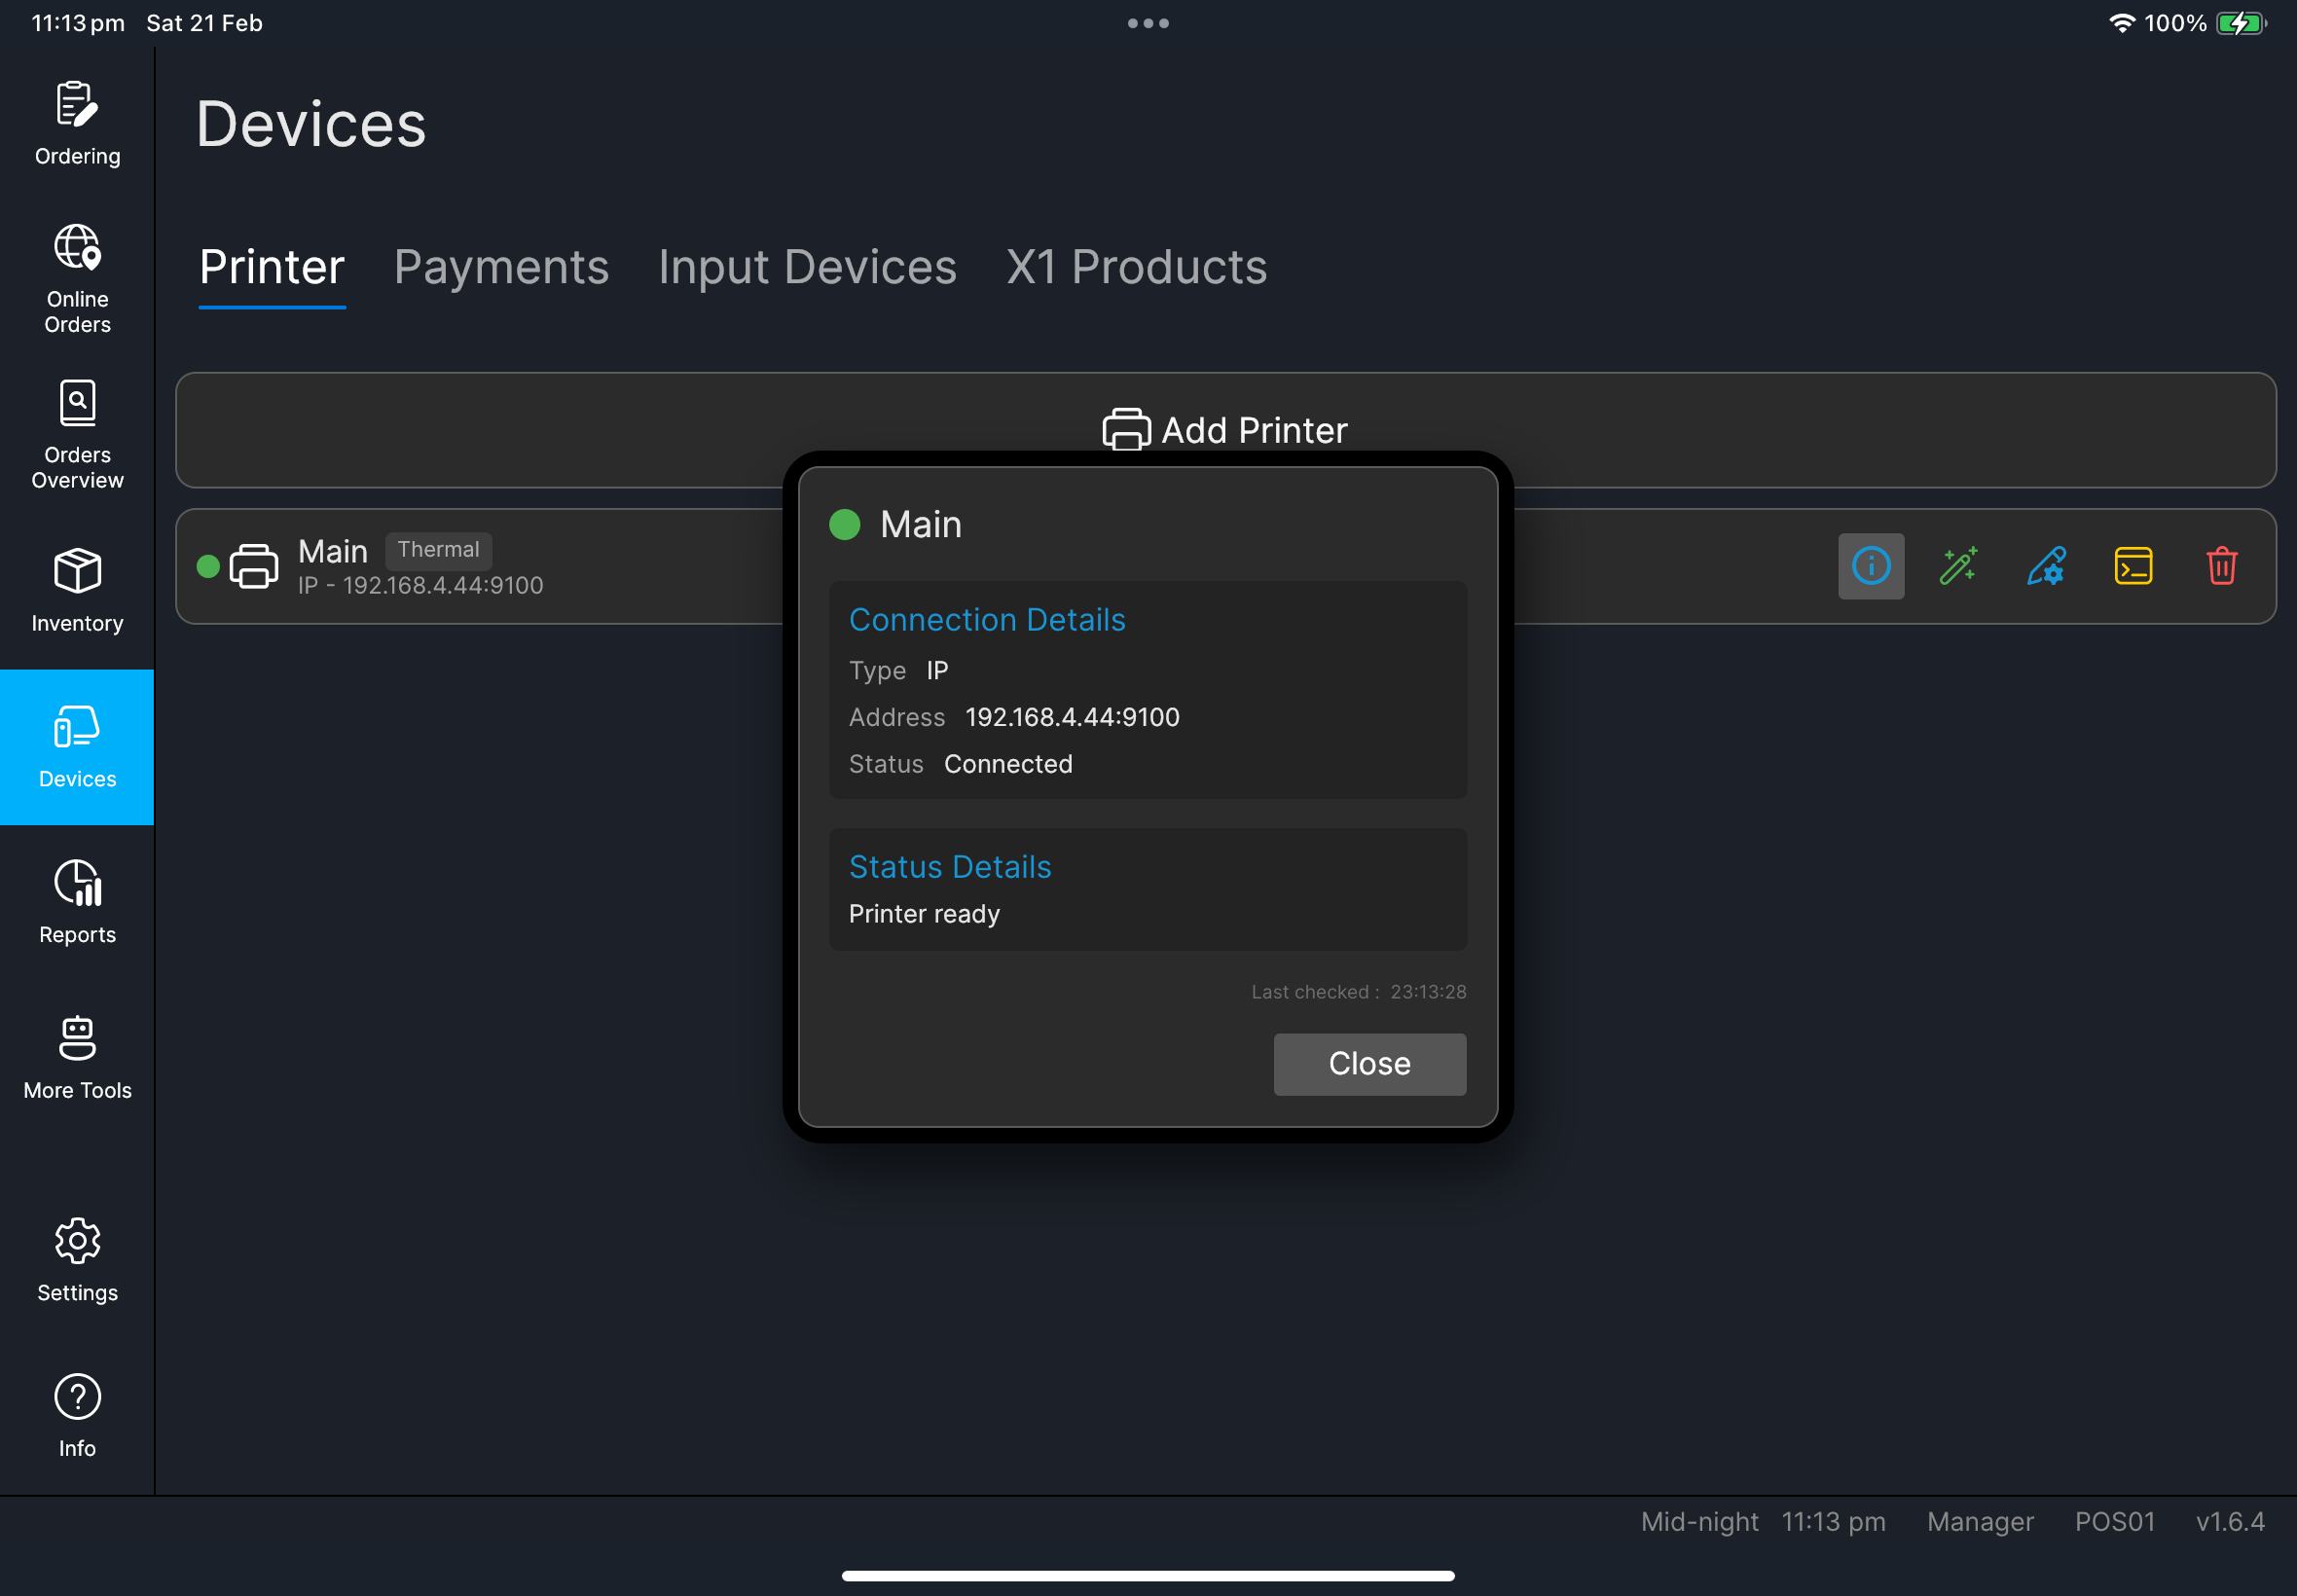
- Tap
Infoon target printer row. - Review
Connection DetailsandStatus Details. - Tap
Close.
What to verify:
Type,Address,Status, andLast checkedare correct
- Tap
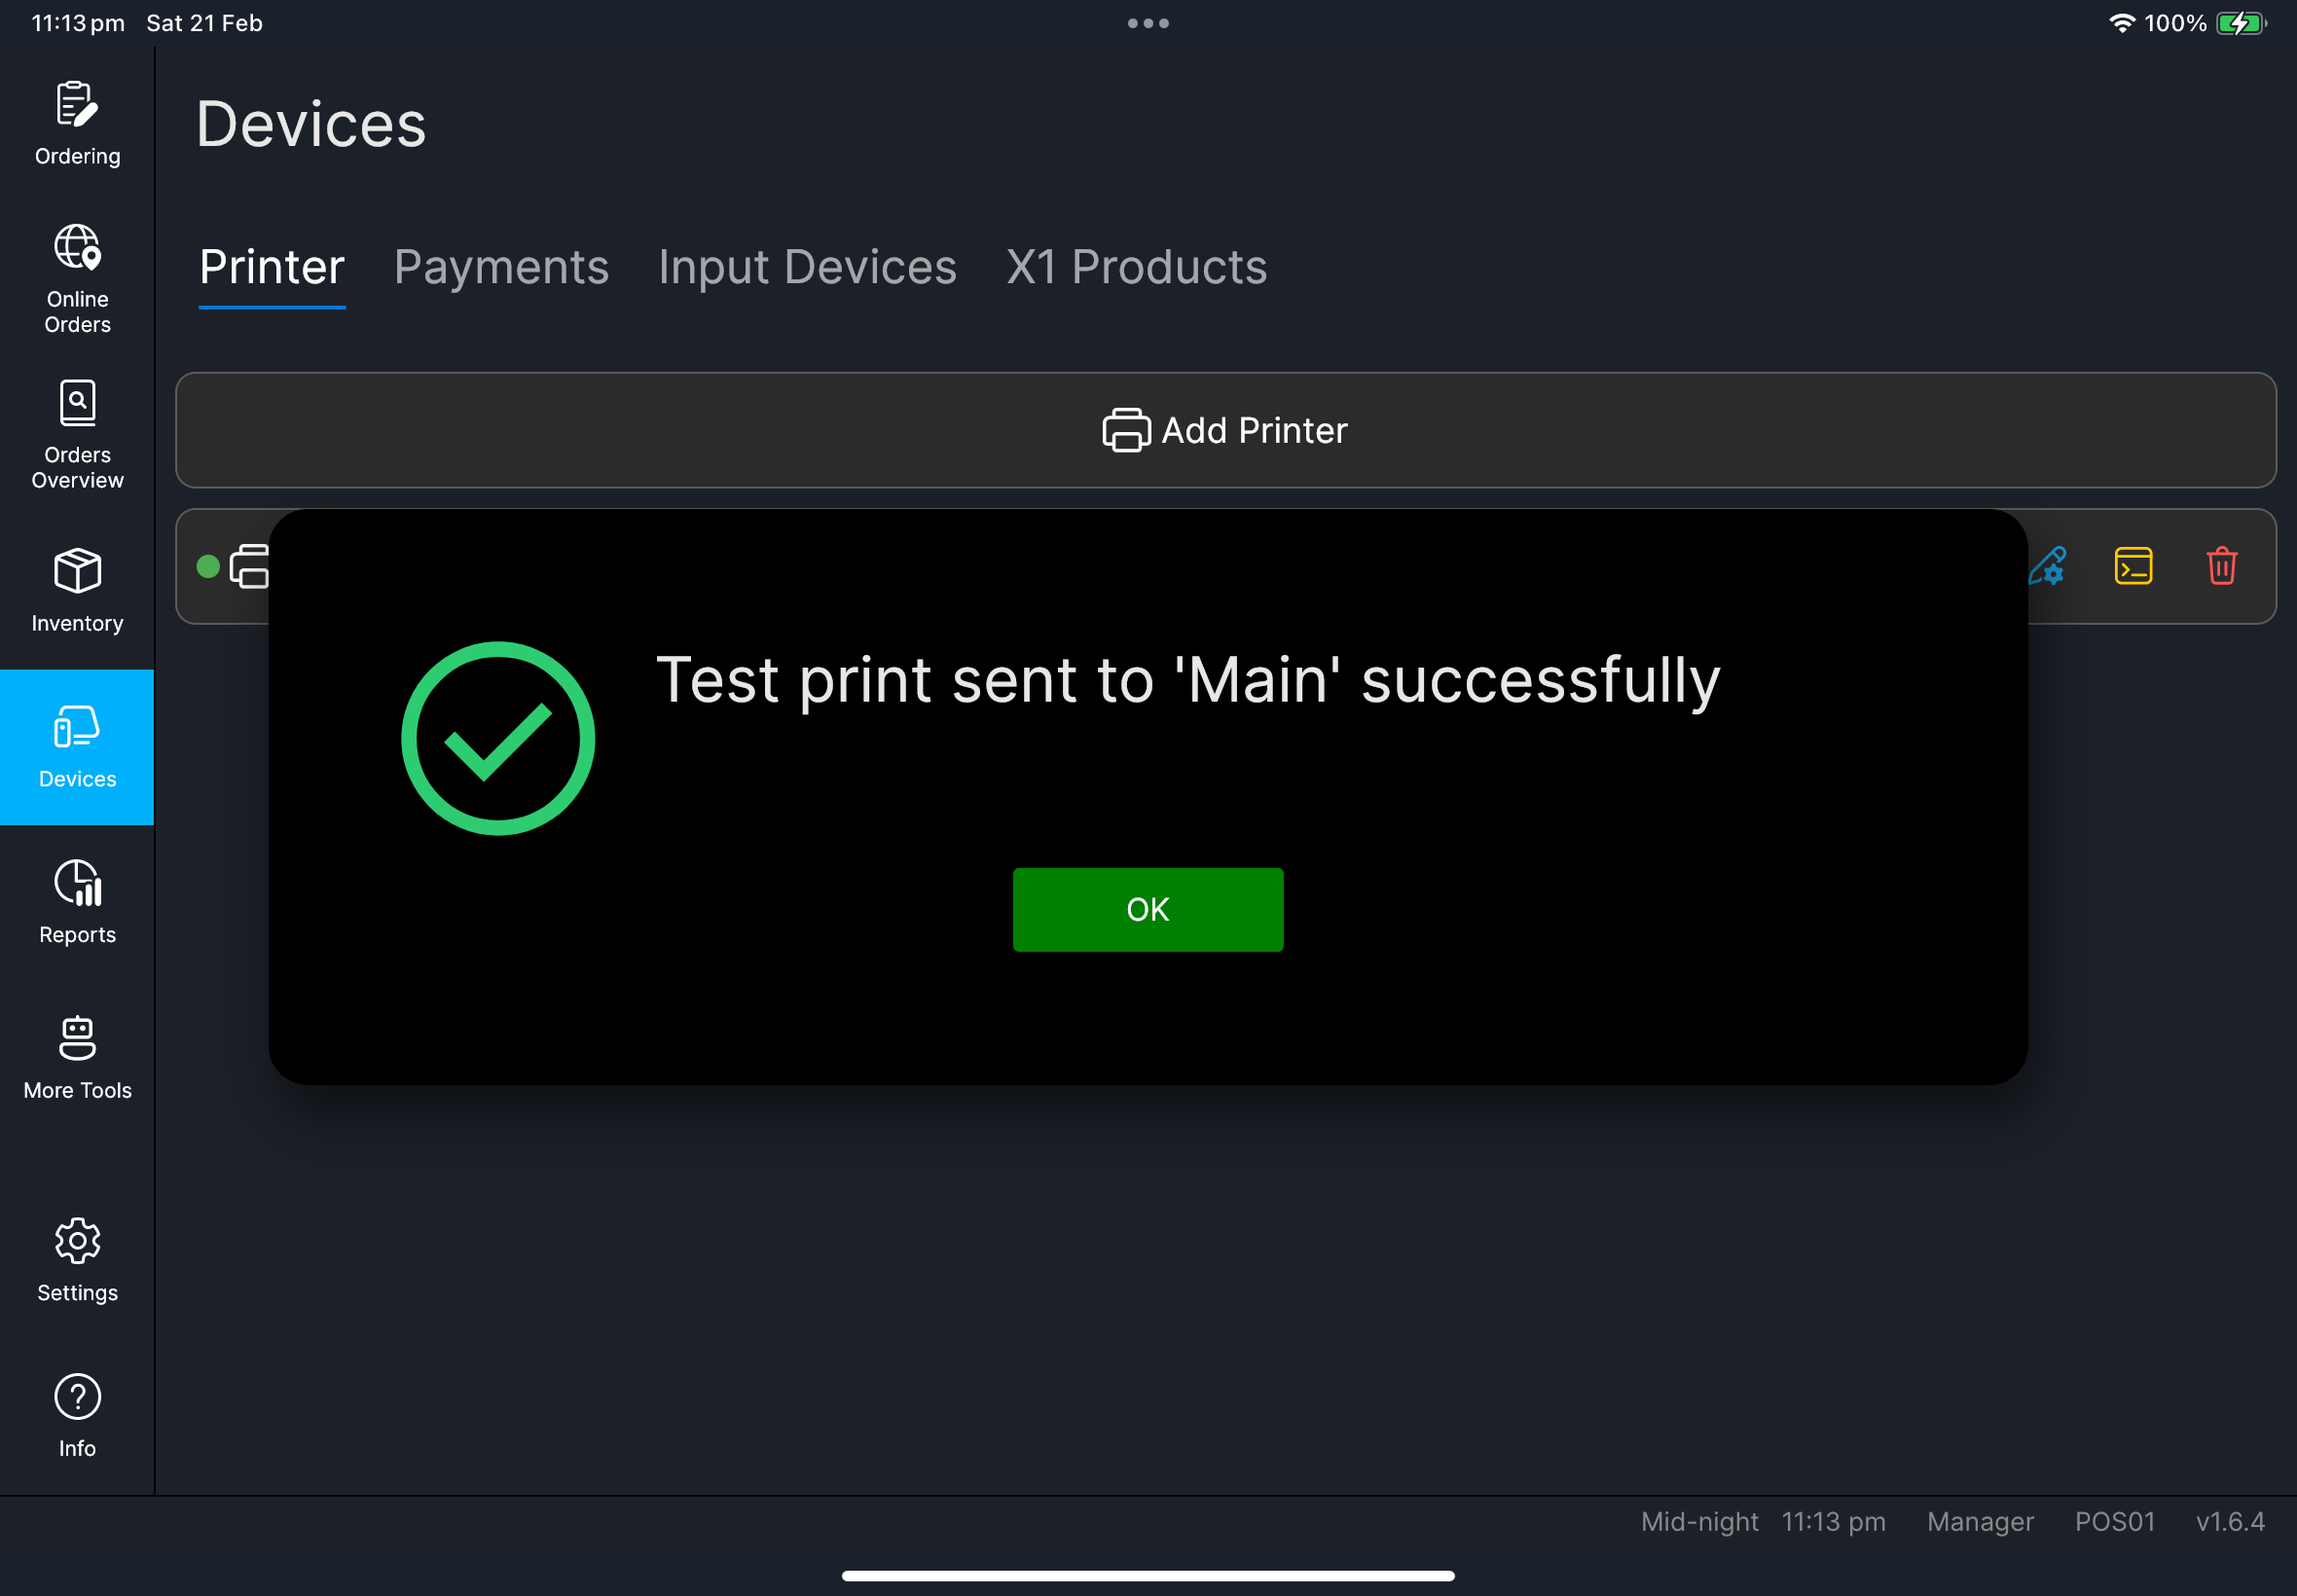
Test Printon target printer row. - Wait for result message.
- Confirm physical test slip output.
What to verify:
- Success message:
Test print sent to '<PrinterName>' successfully
- Tap edit icon to update
Name,Printer Type,Connection,IP Address, andPort. - Turn
Show advanced settingson when you need output adjustments. - Set
Print Scale (%),Header extra line feed, orFooter extra line feedonly when the test output needs adjustment. - If
Printer TypeisDot Matrix, setDot matrix densityandDot matrix color. - Tap
Save. - To remove, tap delete icon.
- Confirm removal prompt.
What to verify:
- Updated settings are shown in printer row
- For
Dot Matrix,High densityprints clearer but slower, andNormal densityprints faster with less detail Color (red / black)sends red content to the red ribbon;Black onlyprints all content in black- Removed printer disappears from list
Screenshot pending:
functions/fn-printer-remove-confirm-dialog.pngScreenshot pending:functions/fn-printer-dot-matrix-advanced-settings.png
- Tap
Manage Spooleron target printer row. - Review tabs:
Queue,History,Needs attention. - Select the job thumbnail to use
Open print preview. In the preview, pinch or scroll to zoom and drag to pan, then tapClose. - Select the row info button when you need to inspect a job. The details can show
Status,Driver,Delivery,Retry source,Attempts,Vendor job ID,Next retry, andPrinter message. - Use required actions:
RefreshClear SelectionRemove SelectedRemove All
- In
Needs attention, use the bulk actionsSelect All,Retry selected safe jobs, andRetry all safe jobswhen appropriate. - For an individual job, use the action that matches its state:
Retry nowfor a job that is confirmed not sentRetry anywayonly after reviewing the duplicate-risk warningMark as printedwhen the job was already printed elsewhere and must not be sent againCancelto cancel a queued job
What to verify:
- Queue decreases after retry/remove actions
- A job marked
Waiting for auto retrymay clear by itself after the printer is ready again - A job marked
Permanent errorneeds manual review, removal, or a fresh print request - A job marked
Outcome unknownmay already have printed; review it individually before retrying or marking it as printed - New print jobs are processed normally
- Removing jobs from
Needs attentioncancels them and keeps them inHistory - The failed-job badge on the printer row clears after the
Needs attentionqueue is empty
Screenshot pending:
functions/fn-printer-spooler-manager-dialog.pngScreenshot pending:functions/fn-printer-spooler-preview-dialog.pngScreenshot pending:functions/fn-printer-spooler-needs-attention-actions.png
If something goes wrong
Check IP/port, paper, printer cover, and network, then retry once.
Verify power/network on printer first, then run Test Print.
Open the spooler job details. If the job is waiting for automatic retry, confirm the printer is online and wait for the next retry. If the job is a permanent error or repeated retries fail, remove the failed job, validate connectivity, then resend the order or print request.
Not configured on an HQ-managed printerEdit the printer row and save the local connection details for this POS. The HQ record defines that the printer should exist, but each terminal still needs a working local connection before it can print.
If removal partially fails, refresh printer list and confirm whether spooler files still exist.
When to ask manager/admin
POS Codeis required but you cannot edit settings- Printer settings save succeeds but printer remains unavailable
- Spooler error queue keeps growing after retry/remove